
The hits keep on coming! big progress today on the 4th of July.
It was a four pieces of wood day. Two big, and two small.
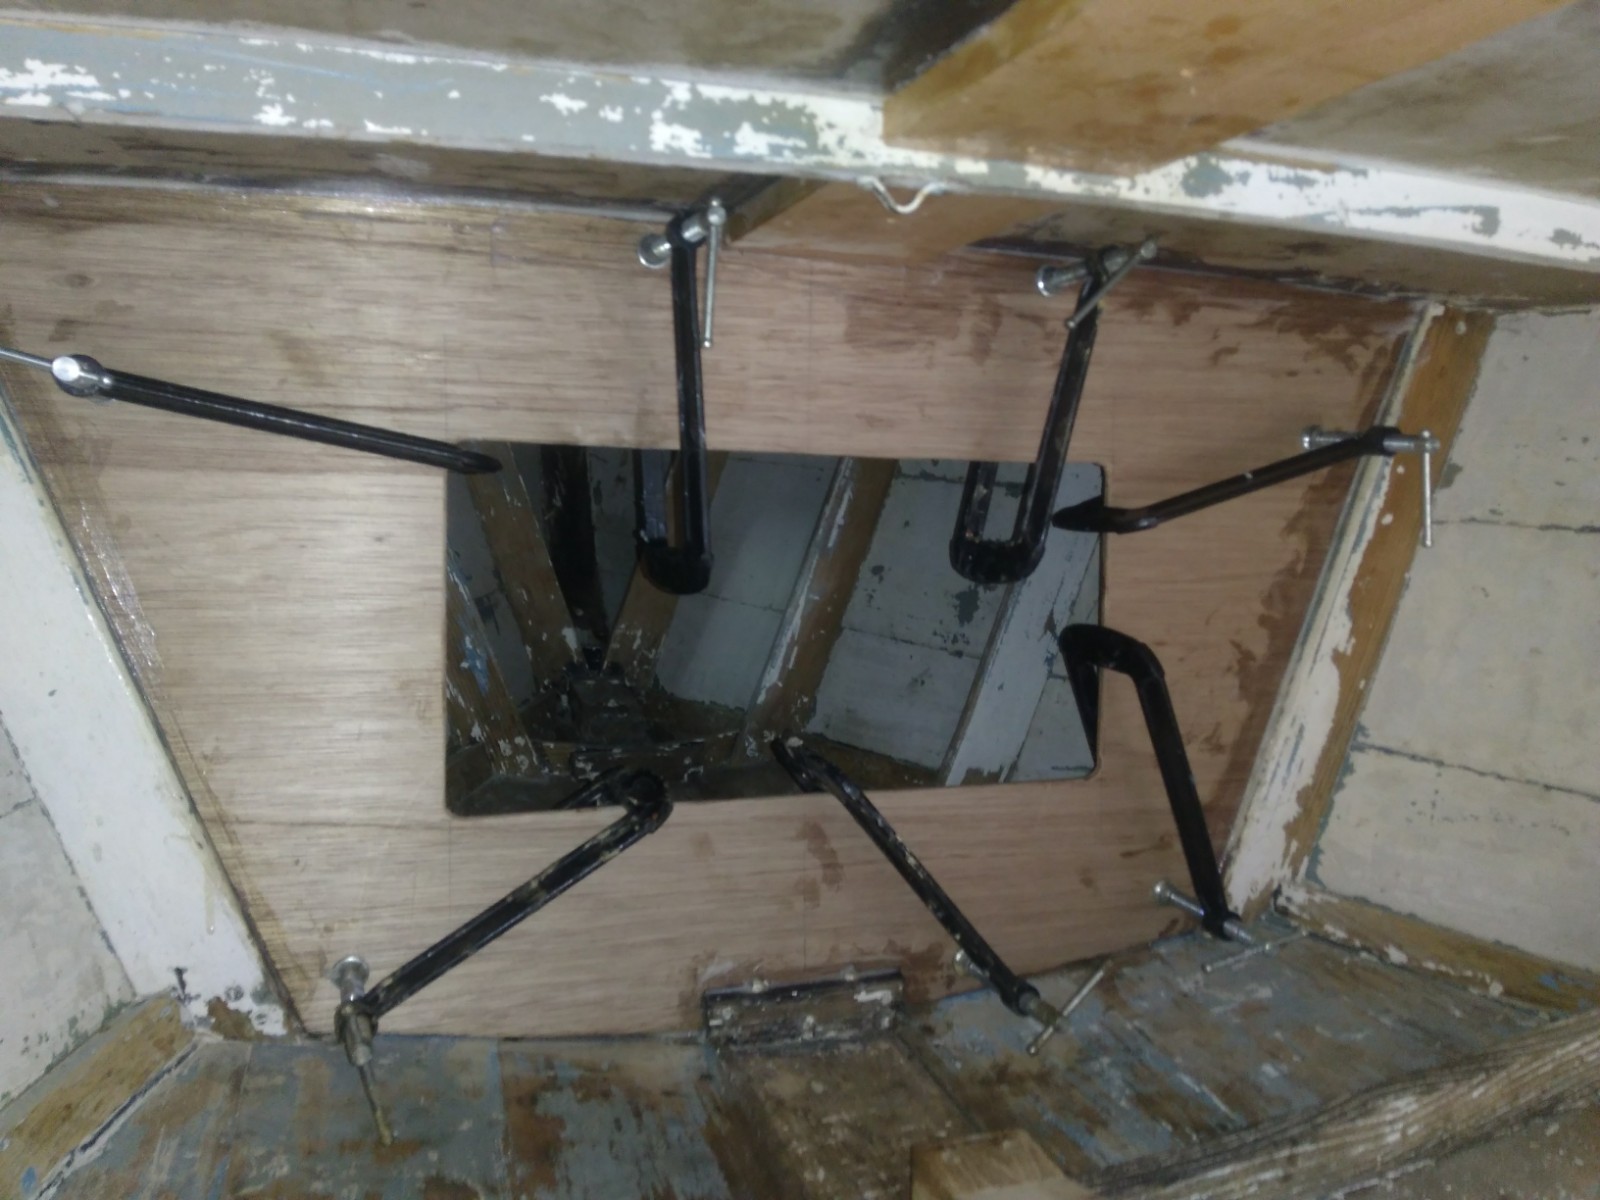
The two small pieces were the backups for the traveler/bridle. I also spaced these so that if I later wanted to install an autopilot I’ll already have the backup structure in place.
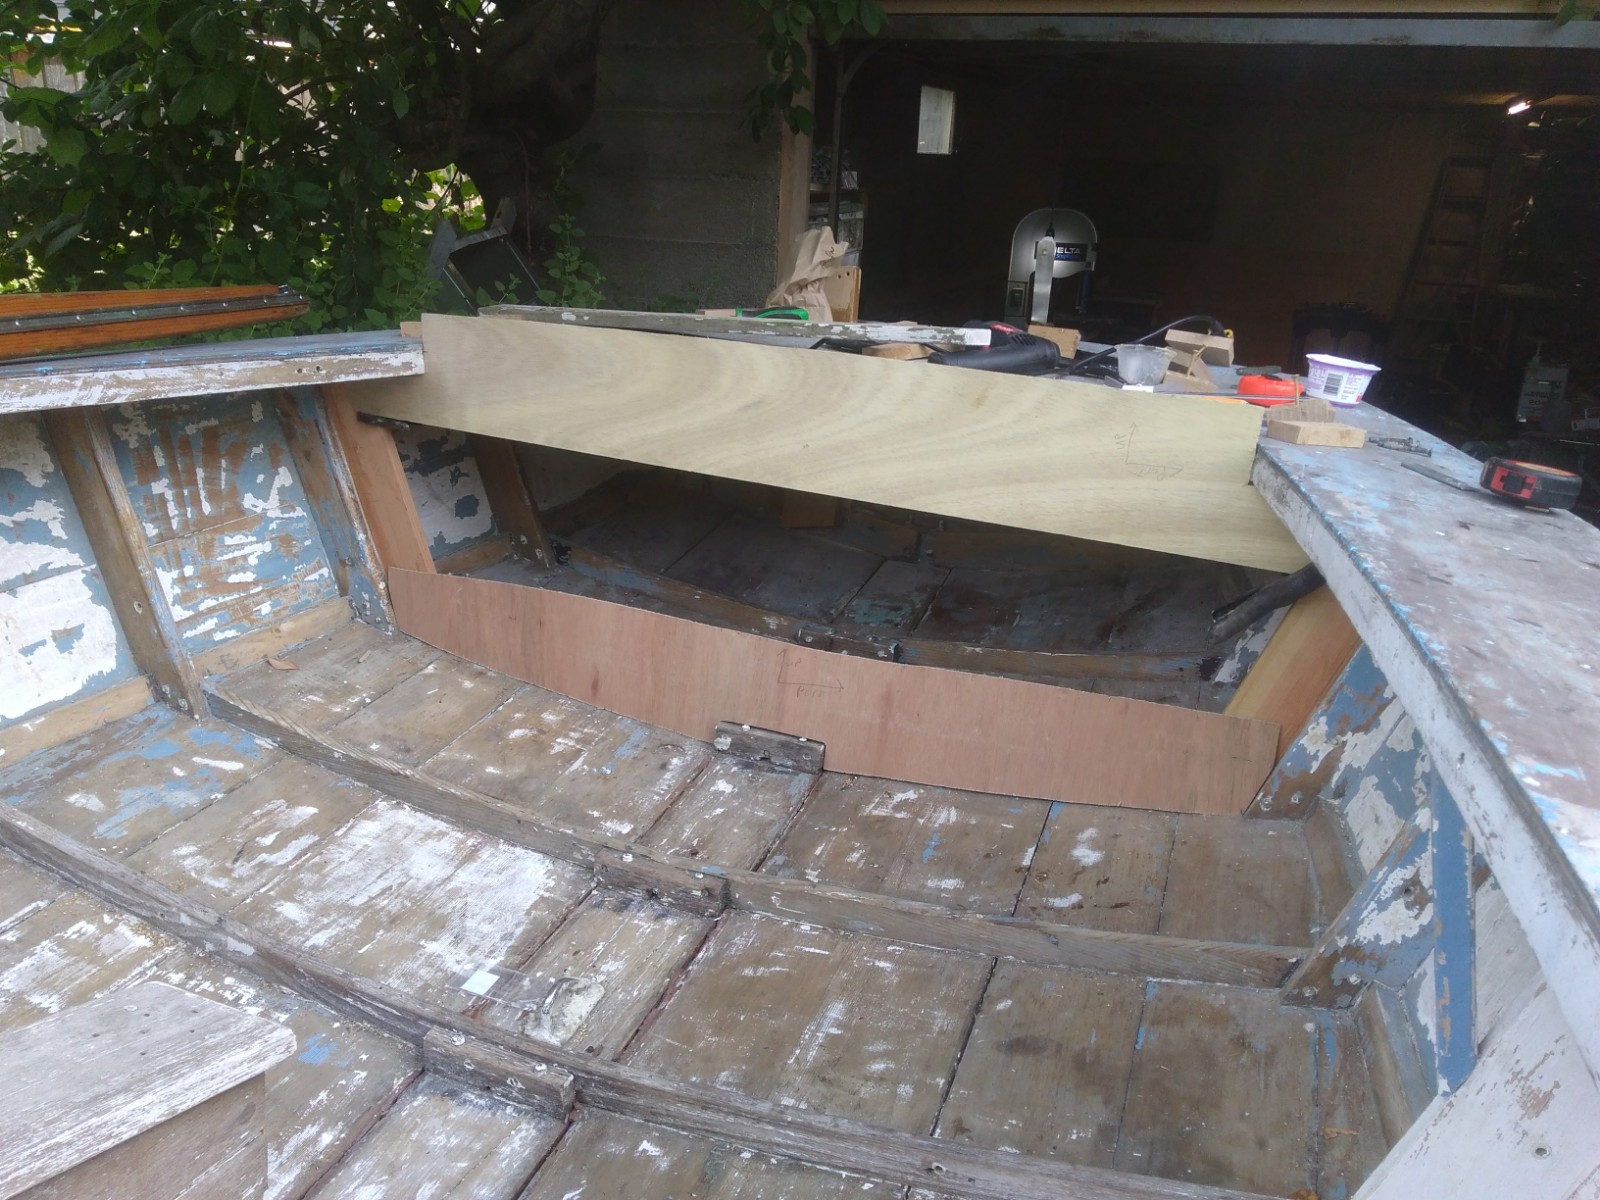
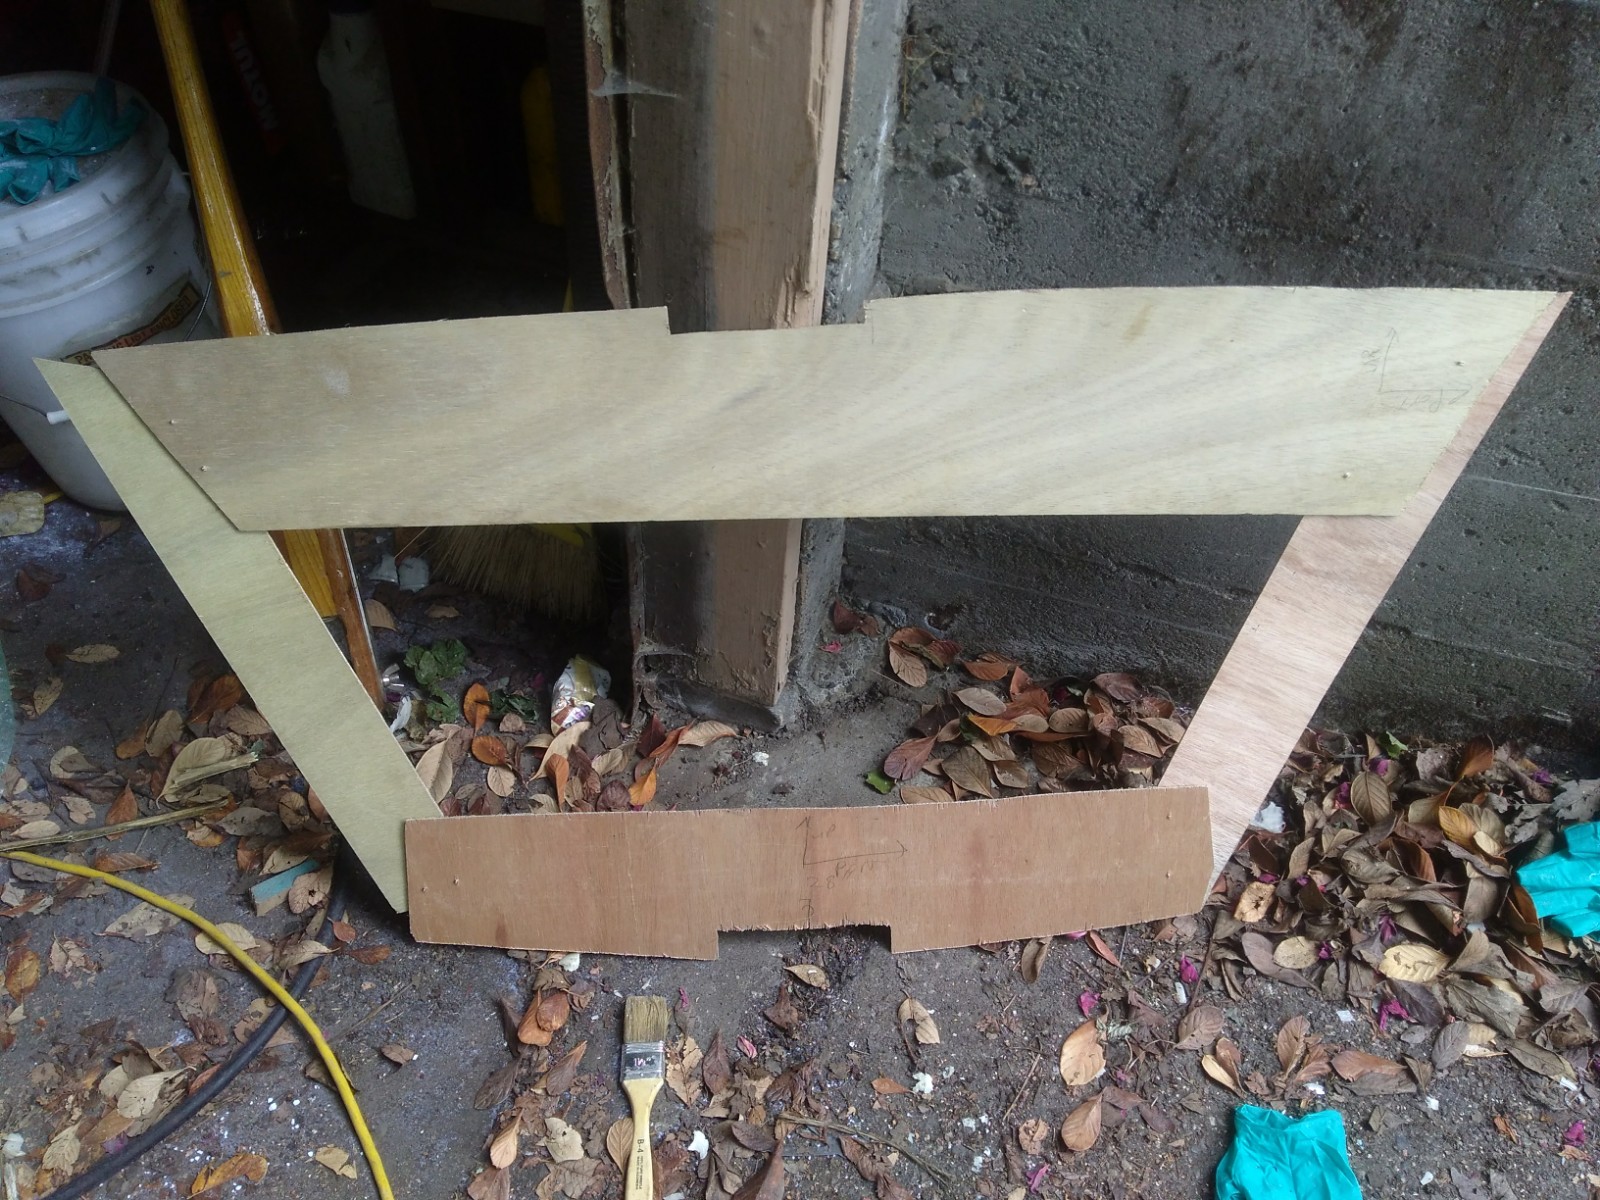
The big parts were the fore and aft watertight bulkheads. I used my shipfitting skills to make templates and cut them so they fit with less than a 1/16 inch gap. Here’s a shot of the aft one:
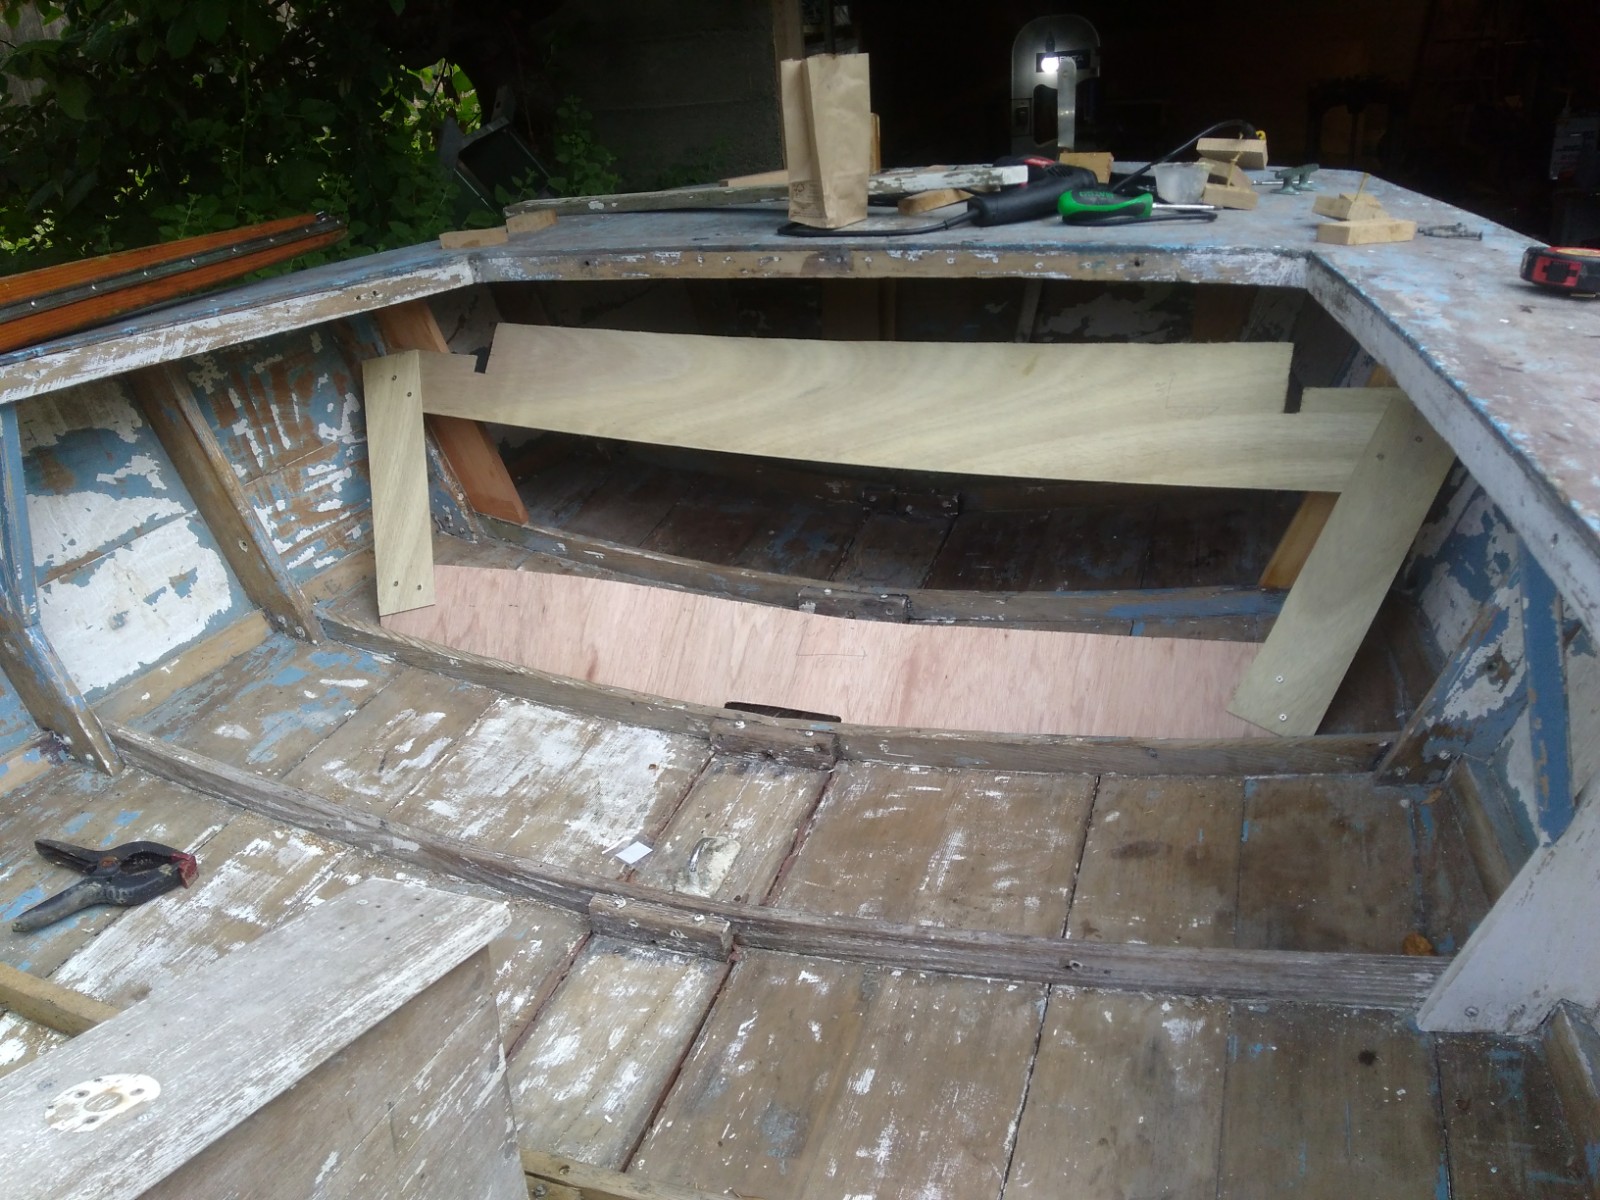
These were made with cheap doorskin plywood. I started off by making a best guess cut, using the template I had used for the full width rib had laying around, and used the old coming piece to make the top curve. these were close, but far from perfect. Then, I block-scribed the top and bottom pieces in. Once those were spot on, i tied them together with the side pieces, using some small screws. the sides of the top piece are cut to fit the underside of the deck, and wrap around the side deck support. Here it is, slid down out of place so you can see:
After cutting the part using the template it fit well, with less than a 1/16 gap all the way around. Really was happy with the fit on this one. Here it is, dry fit before gluing it up.
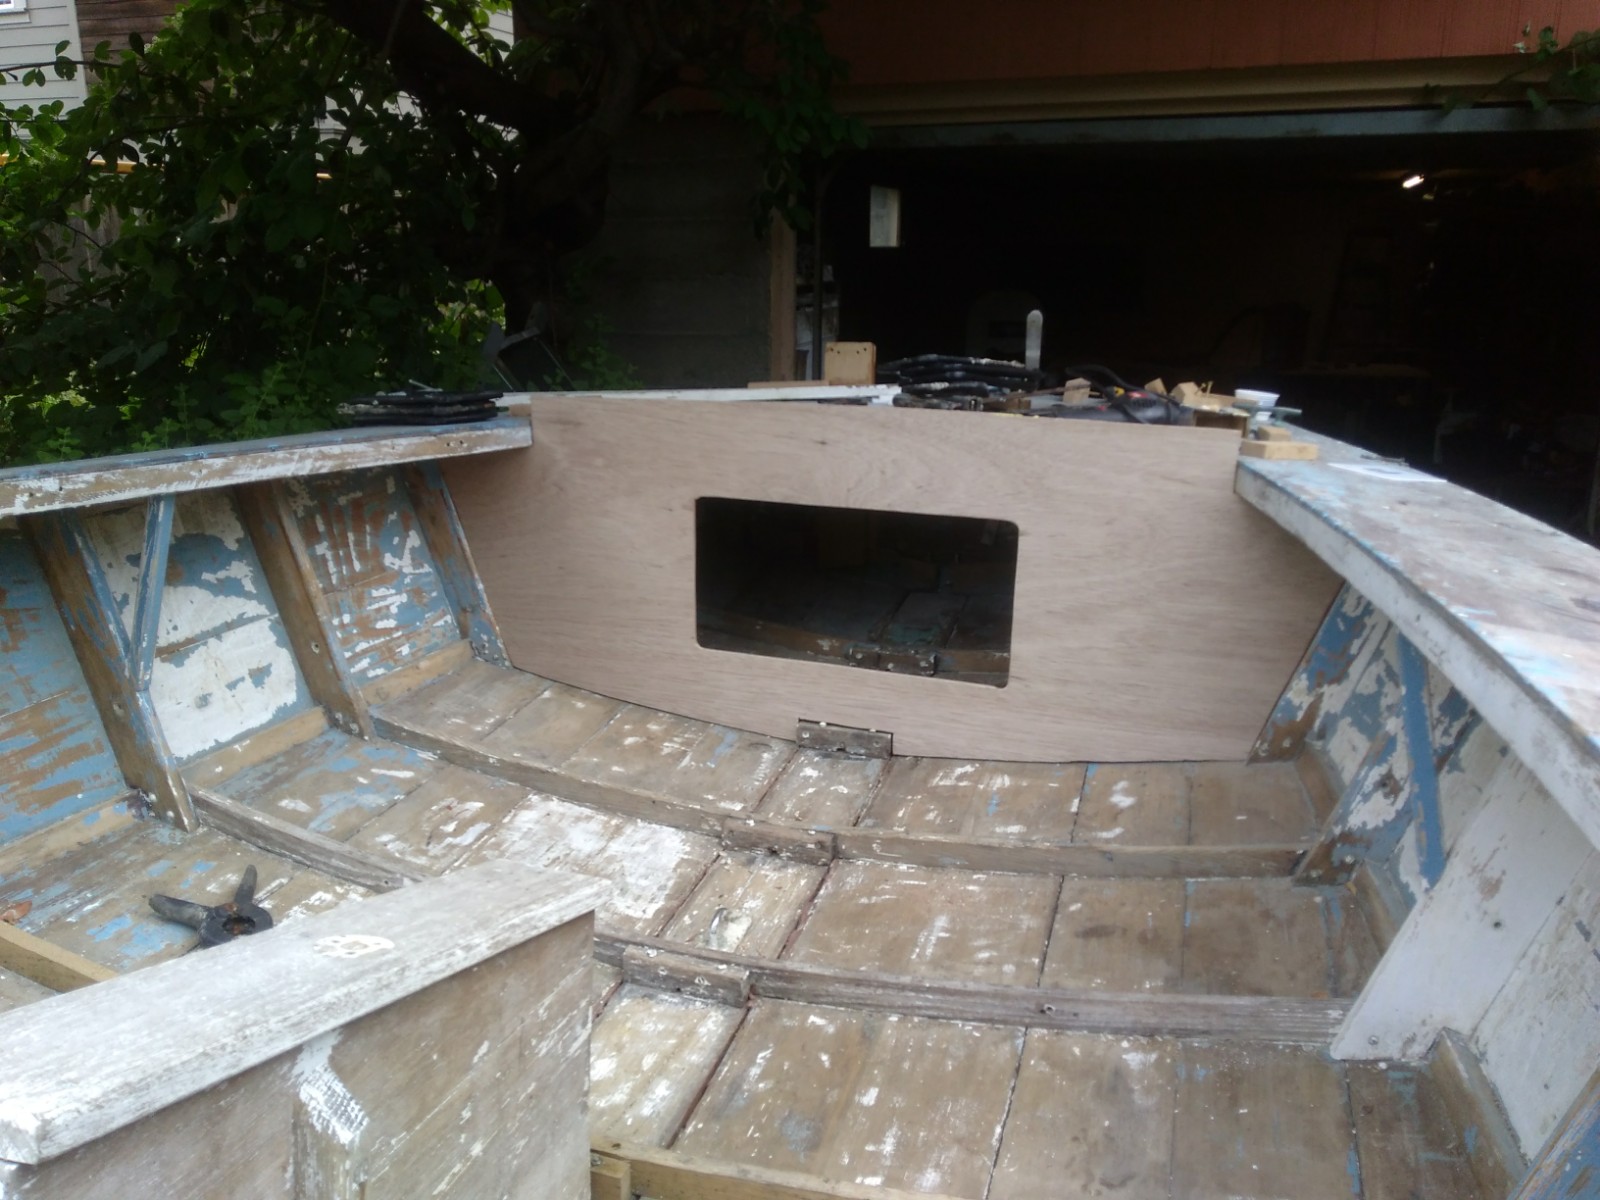
The hole in the middle is for an Anderson hatch. I love this thing, it has two dogs on the back that grab the plywood and pull it completely watertight, without hinges or anything else to complicate it or get in the way. The top of the bulkhead comes up above the deck, and there will be a coaming piece that will tie into it, and probably have a trim piece for the tiller to slide on. One tricky bit is that i had to use just the right amount of epoxy; while I am epoxying to the rib, i didn’t want to glue the planks of the hull to the rib of bulkhead. i ended up using a toothed spreader and crossing my fingers. It came out well.
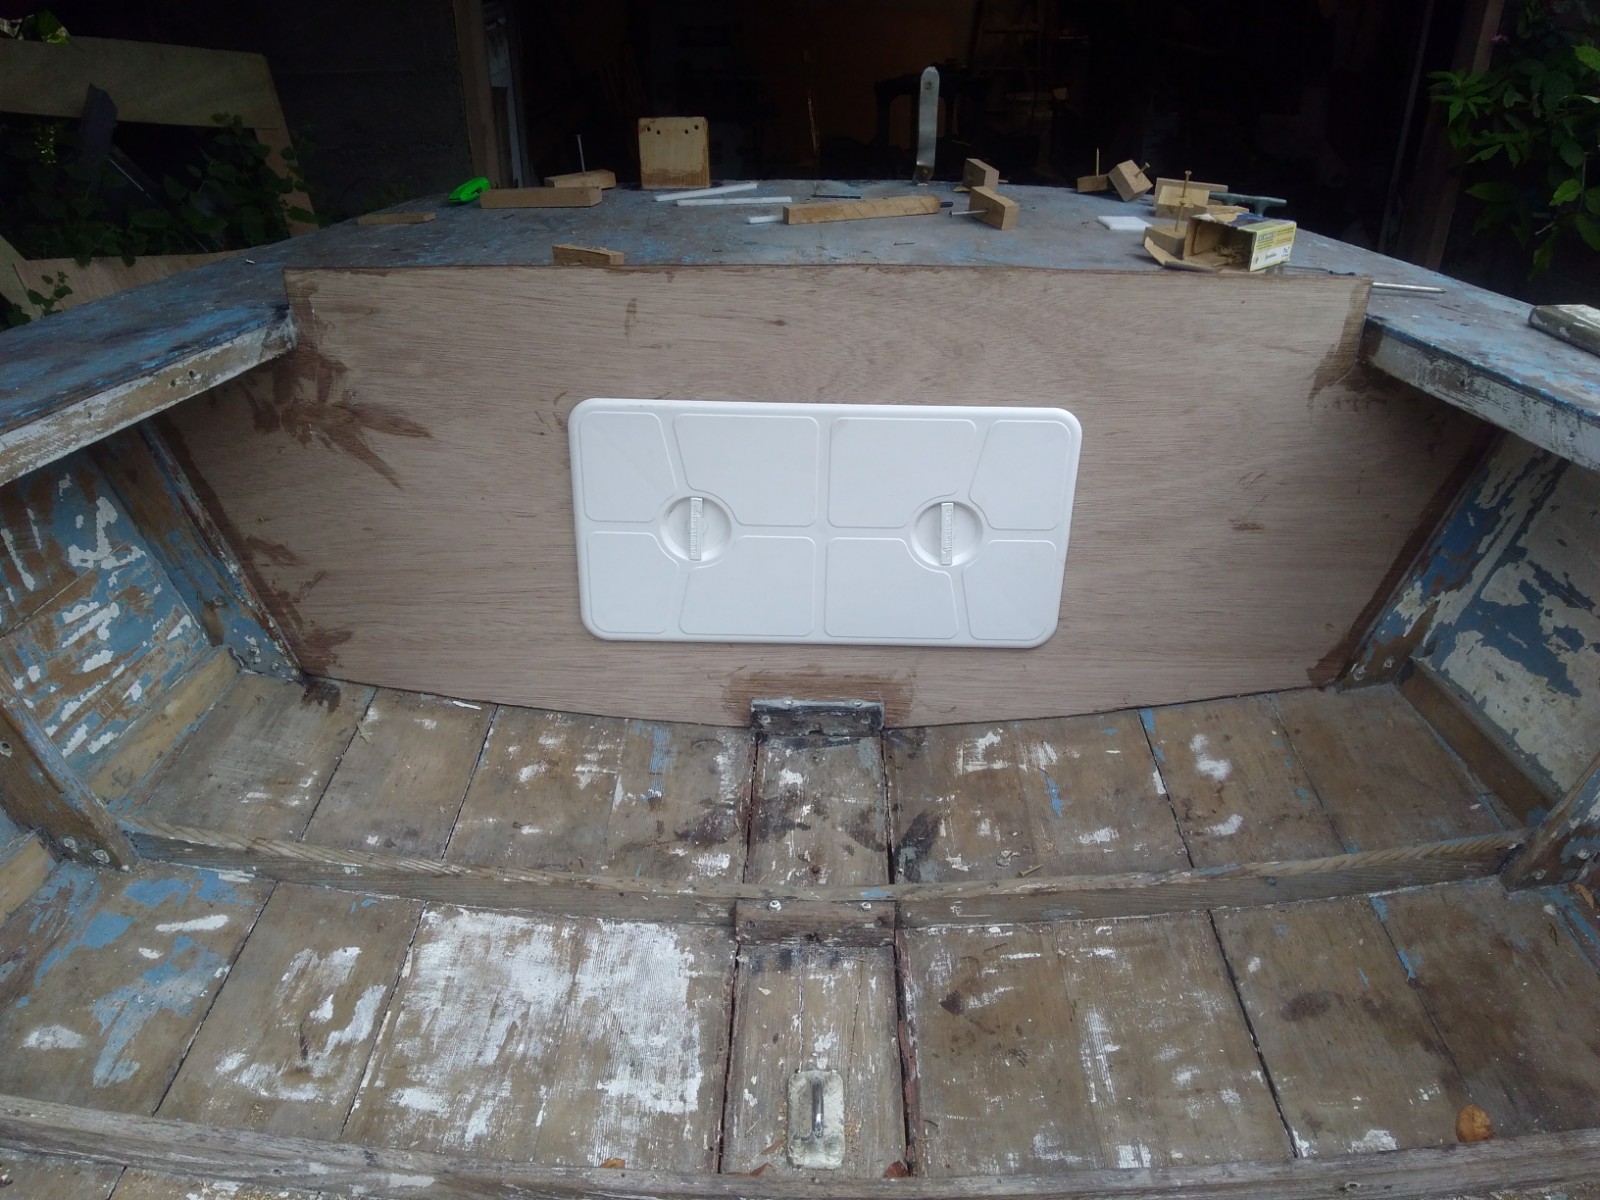
Once it was all glued up, I threw the hatch in for a picture.
Fitting the front was easy; I took apart the aft template, and used the top and bottom curved sections as the starting point to make the front template. here’s a shot of it ready to go.
Part cut, Clamps deployed, glue kicking, and it’s looking good.
I also managed to get the parts laminated up to tie the centerboard trunk to the deck; hopefully I can get those installed tomorrow, but here they are.

But yeah, not alot else to say, but big steps in the right direction. Besides the progress I can point at and take a picture of, I’ve also got a few other things i’ve started working on, like looking at how the jib tracks will go and other small, strategic planning ahead. I’ve also discovered another issue I need to resolve that I need to think about. a ton of the structure for the cabin is already cut and laid out, so I expect the cabin to go 3-D really quickly.
Hey, is anybody actually reading this, or am I just logging this for my own reference?