
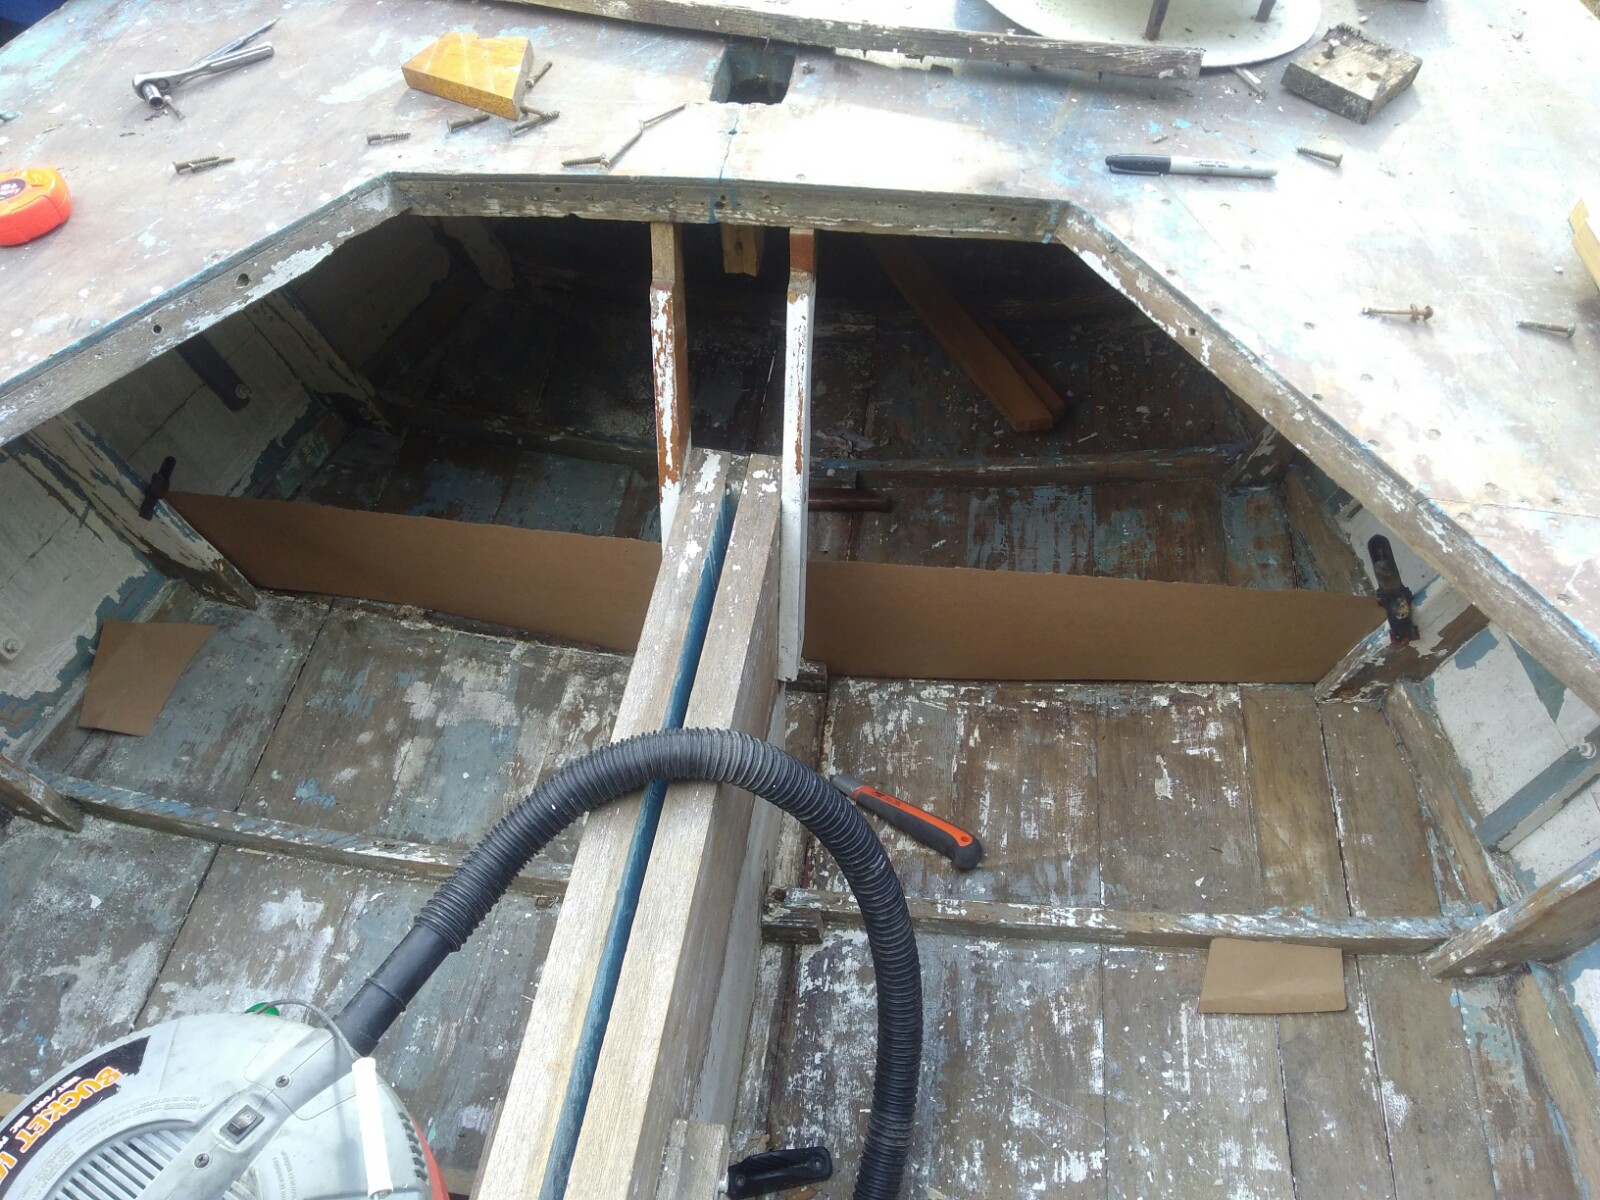
So, I’m in better spirits after making much progress on the Lady Jane.
First, I removed the old cracked rib, and jacked up the keel pf the boat on the trailer and blocked it so that the keel under the rib was supporting the weight of the front half of the boat, to take some of the shape out of the boat that the broken rib and rig tension had put into the boat.
Then, I had to make the replacement rib. I couldn’t use the old one to make a replacement, becasue with the sag taken out of the hull, and the crack in the rib it no longer matched the hull shape. In addition, it was half an inch too short to begin with.
So, I put some of my steel shipfitting experience to use.
I used one of the offcuts from the cabin top beams to get a rough curve, then clipped this into place and block-scribed the template to match the hull. Block-scribing is a technique where you use a spacer and a marking tool to trace the shape and transfer it. Basically, I laid a sharpie on it’s side on the hull and made a line along the template material. I then cut along this line to make the paper template match the hull with scissors. I had to repeat the process twice, as the gap in places was more than half the diameter of the marker.
I then used this template to mark the piece of oak I had purchased for this rib, and used the same template to get the curve for the upper surface.
I could tell from the repair job that this wasn’t the first time it had been replaced. This rib also Bore most of the forces put into the hull by the rig tension, so I decided to go a hair oversize to add some strength in this area. I found a great piece of wood for this at Crosscut hardwoods; It was a piece of 5/4 rift-sawn white oak 6″ wide by about 6′ long. This was 1.25″ thick; the original was 1″. I also made the new rib half an inch taller; going to 2″ instead of 1.5″. This should prove quite a bit stronger.
As you can see, the results turned out pretty good.
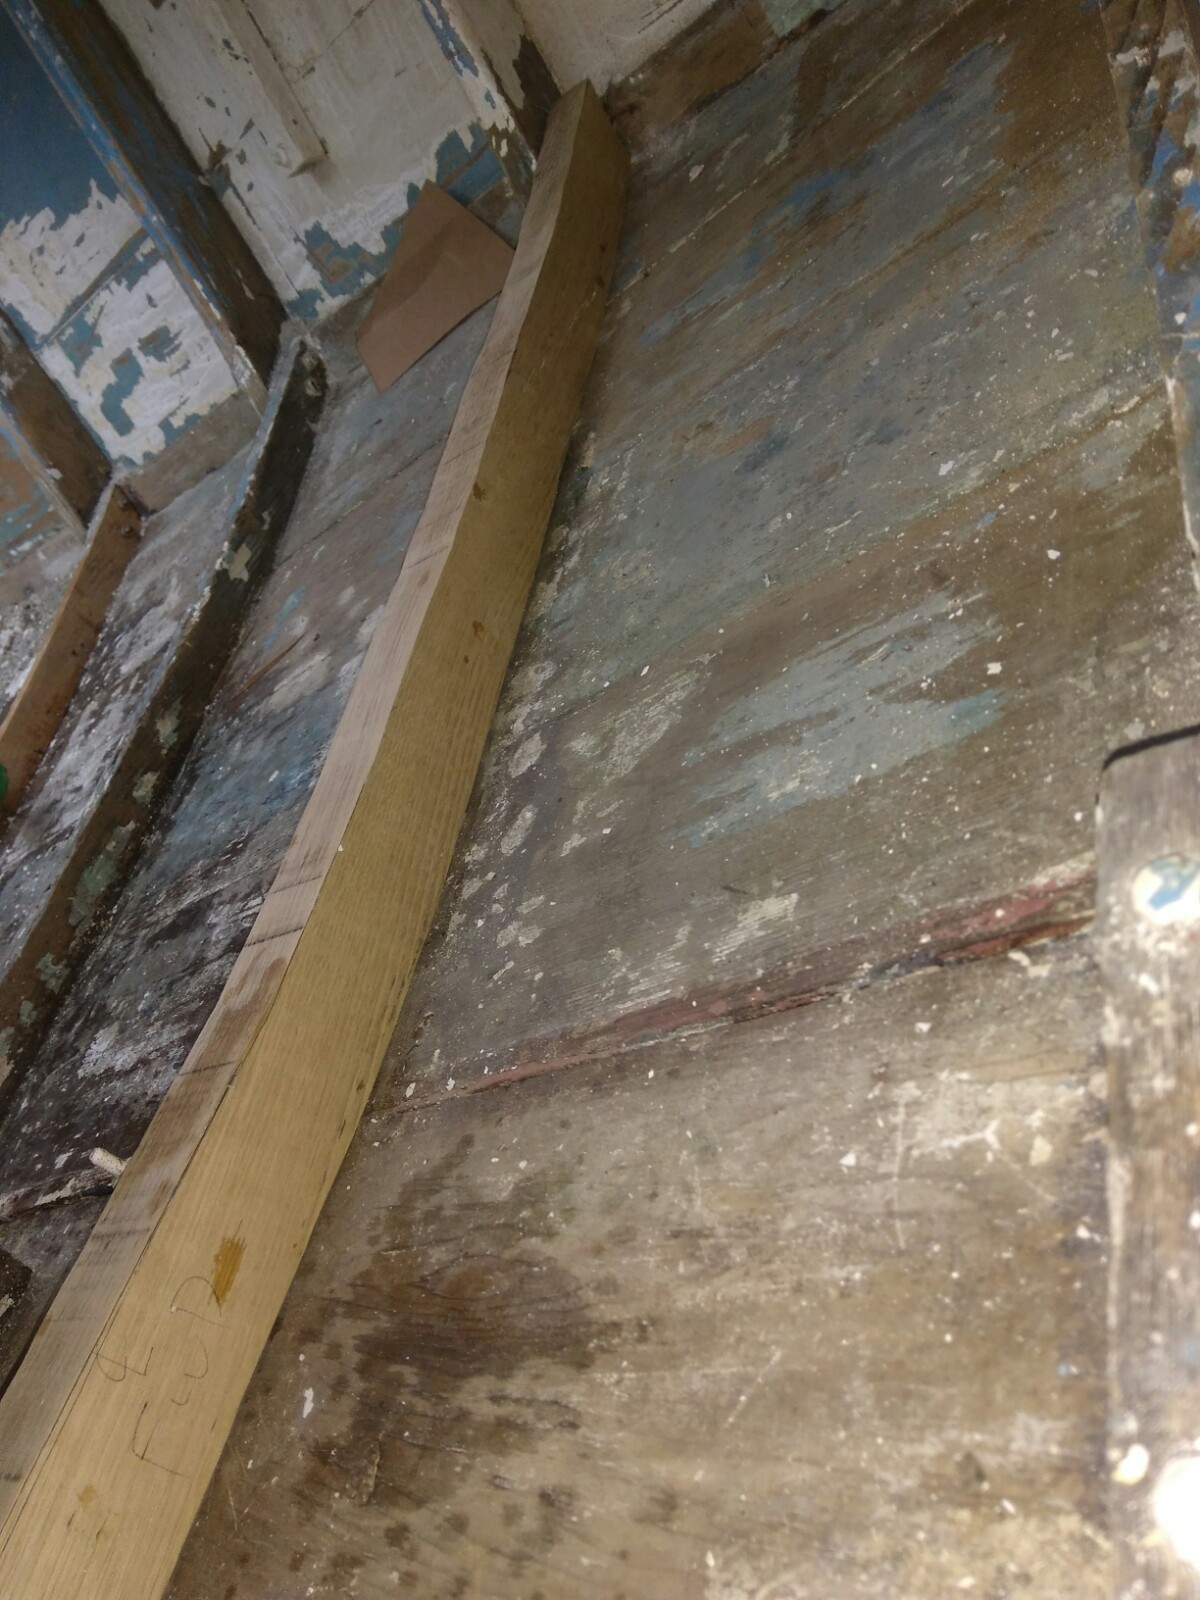
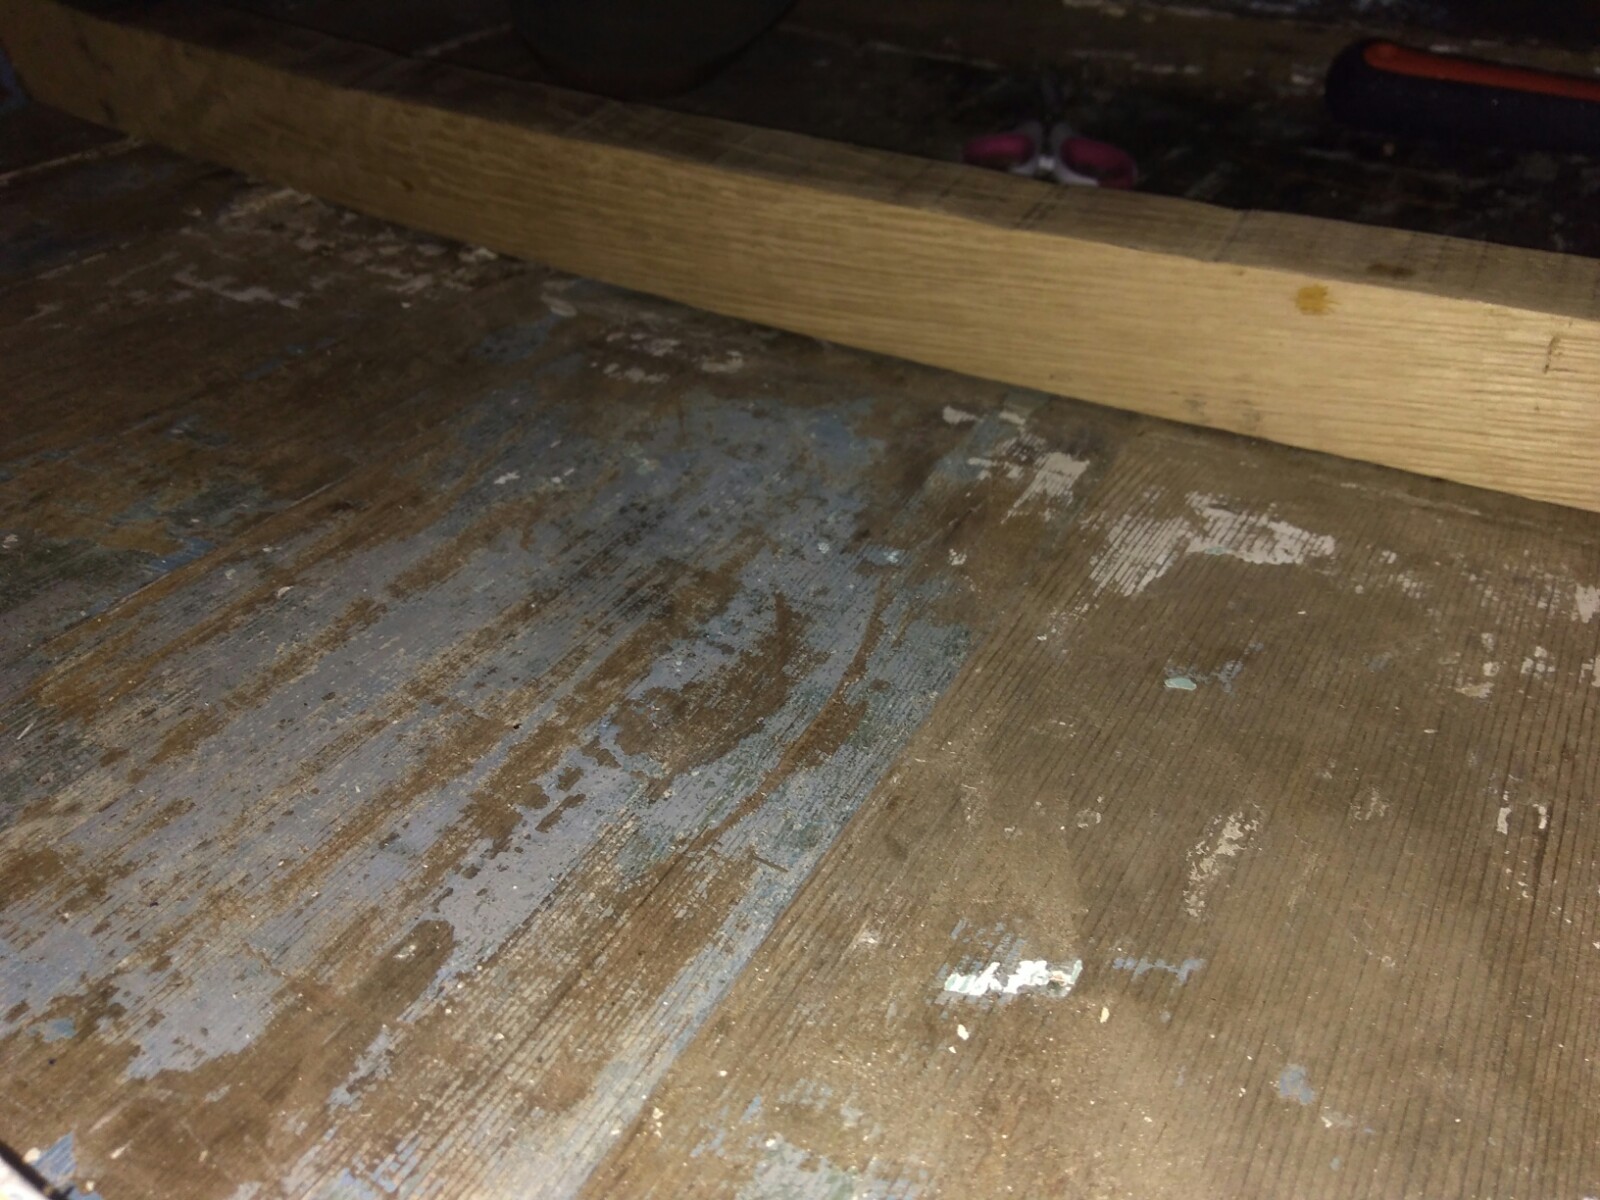
The rib fit the curve perfectly.
Once I had it fit, I drilled the holes to screw the ends to the corresponding frames in the side and screwed the rib to the keel with two #10 screws. Then the planks got attached. I had to omit two plank screws on each side as the trailer was in the way and I couldn’t drill them. I’ll put these in later, when I have the boat on its side to do the bottom.
Then, I had to move on to the mast step.
This is a three-piece sandwich of 7/8 oak on either side of a 3/4 piece, with a slot in the middle for the mast to locate on. I had a friend at the Center for Wooden Boats thickness one of my 1″ boards down to 3/4″, and laminated up the sandwich with epoxy.
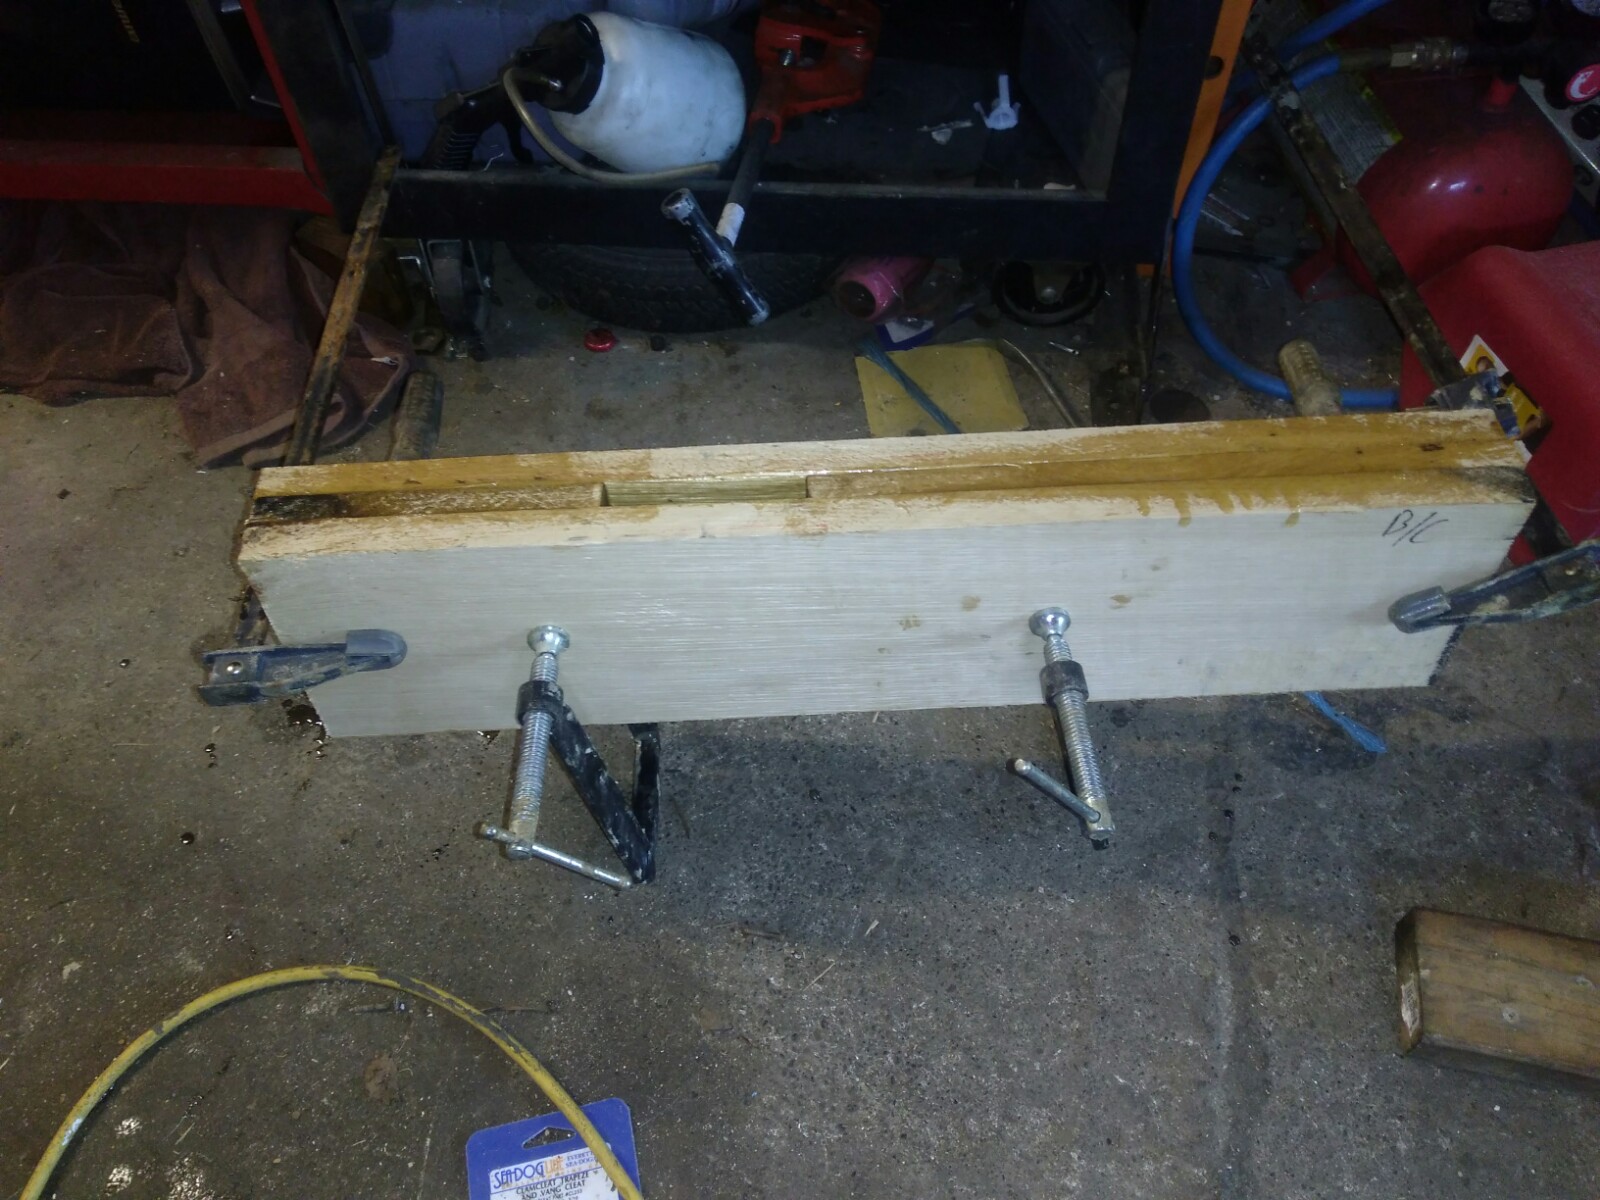
Oak isn’t the best to epoxy; it’s hard and the glue doesn’t take to the wood that well sometimes. However, as this isn’t sanded wood and had some tooth to it, it should be ok. The epoxy is more there for during fabrication, anyway as i’ll be screwing the boards together with mechanical fasteners as well.
After the epoxy cured, I had to do the tricky bit of layout to get the step made. once again, it isn’t a matter of just ‘trace the old one’ as one of the ribs it sat on is now 1/2″ taller. So, i began by making a template.
From There, I used a combination of measurements, the old mast step, and some old fashioned eyeballing to get the shape I needed. Then, I cut away everything that didn’t look like a mast step.
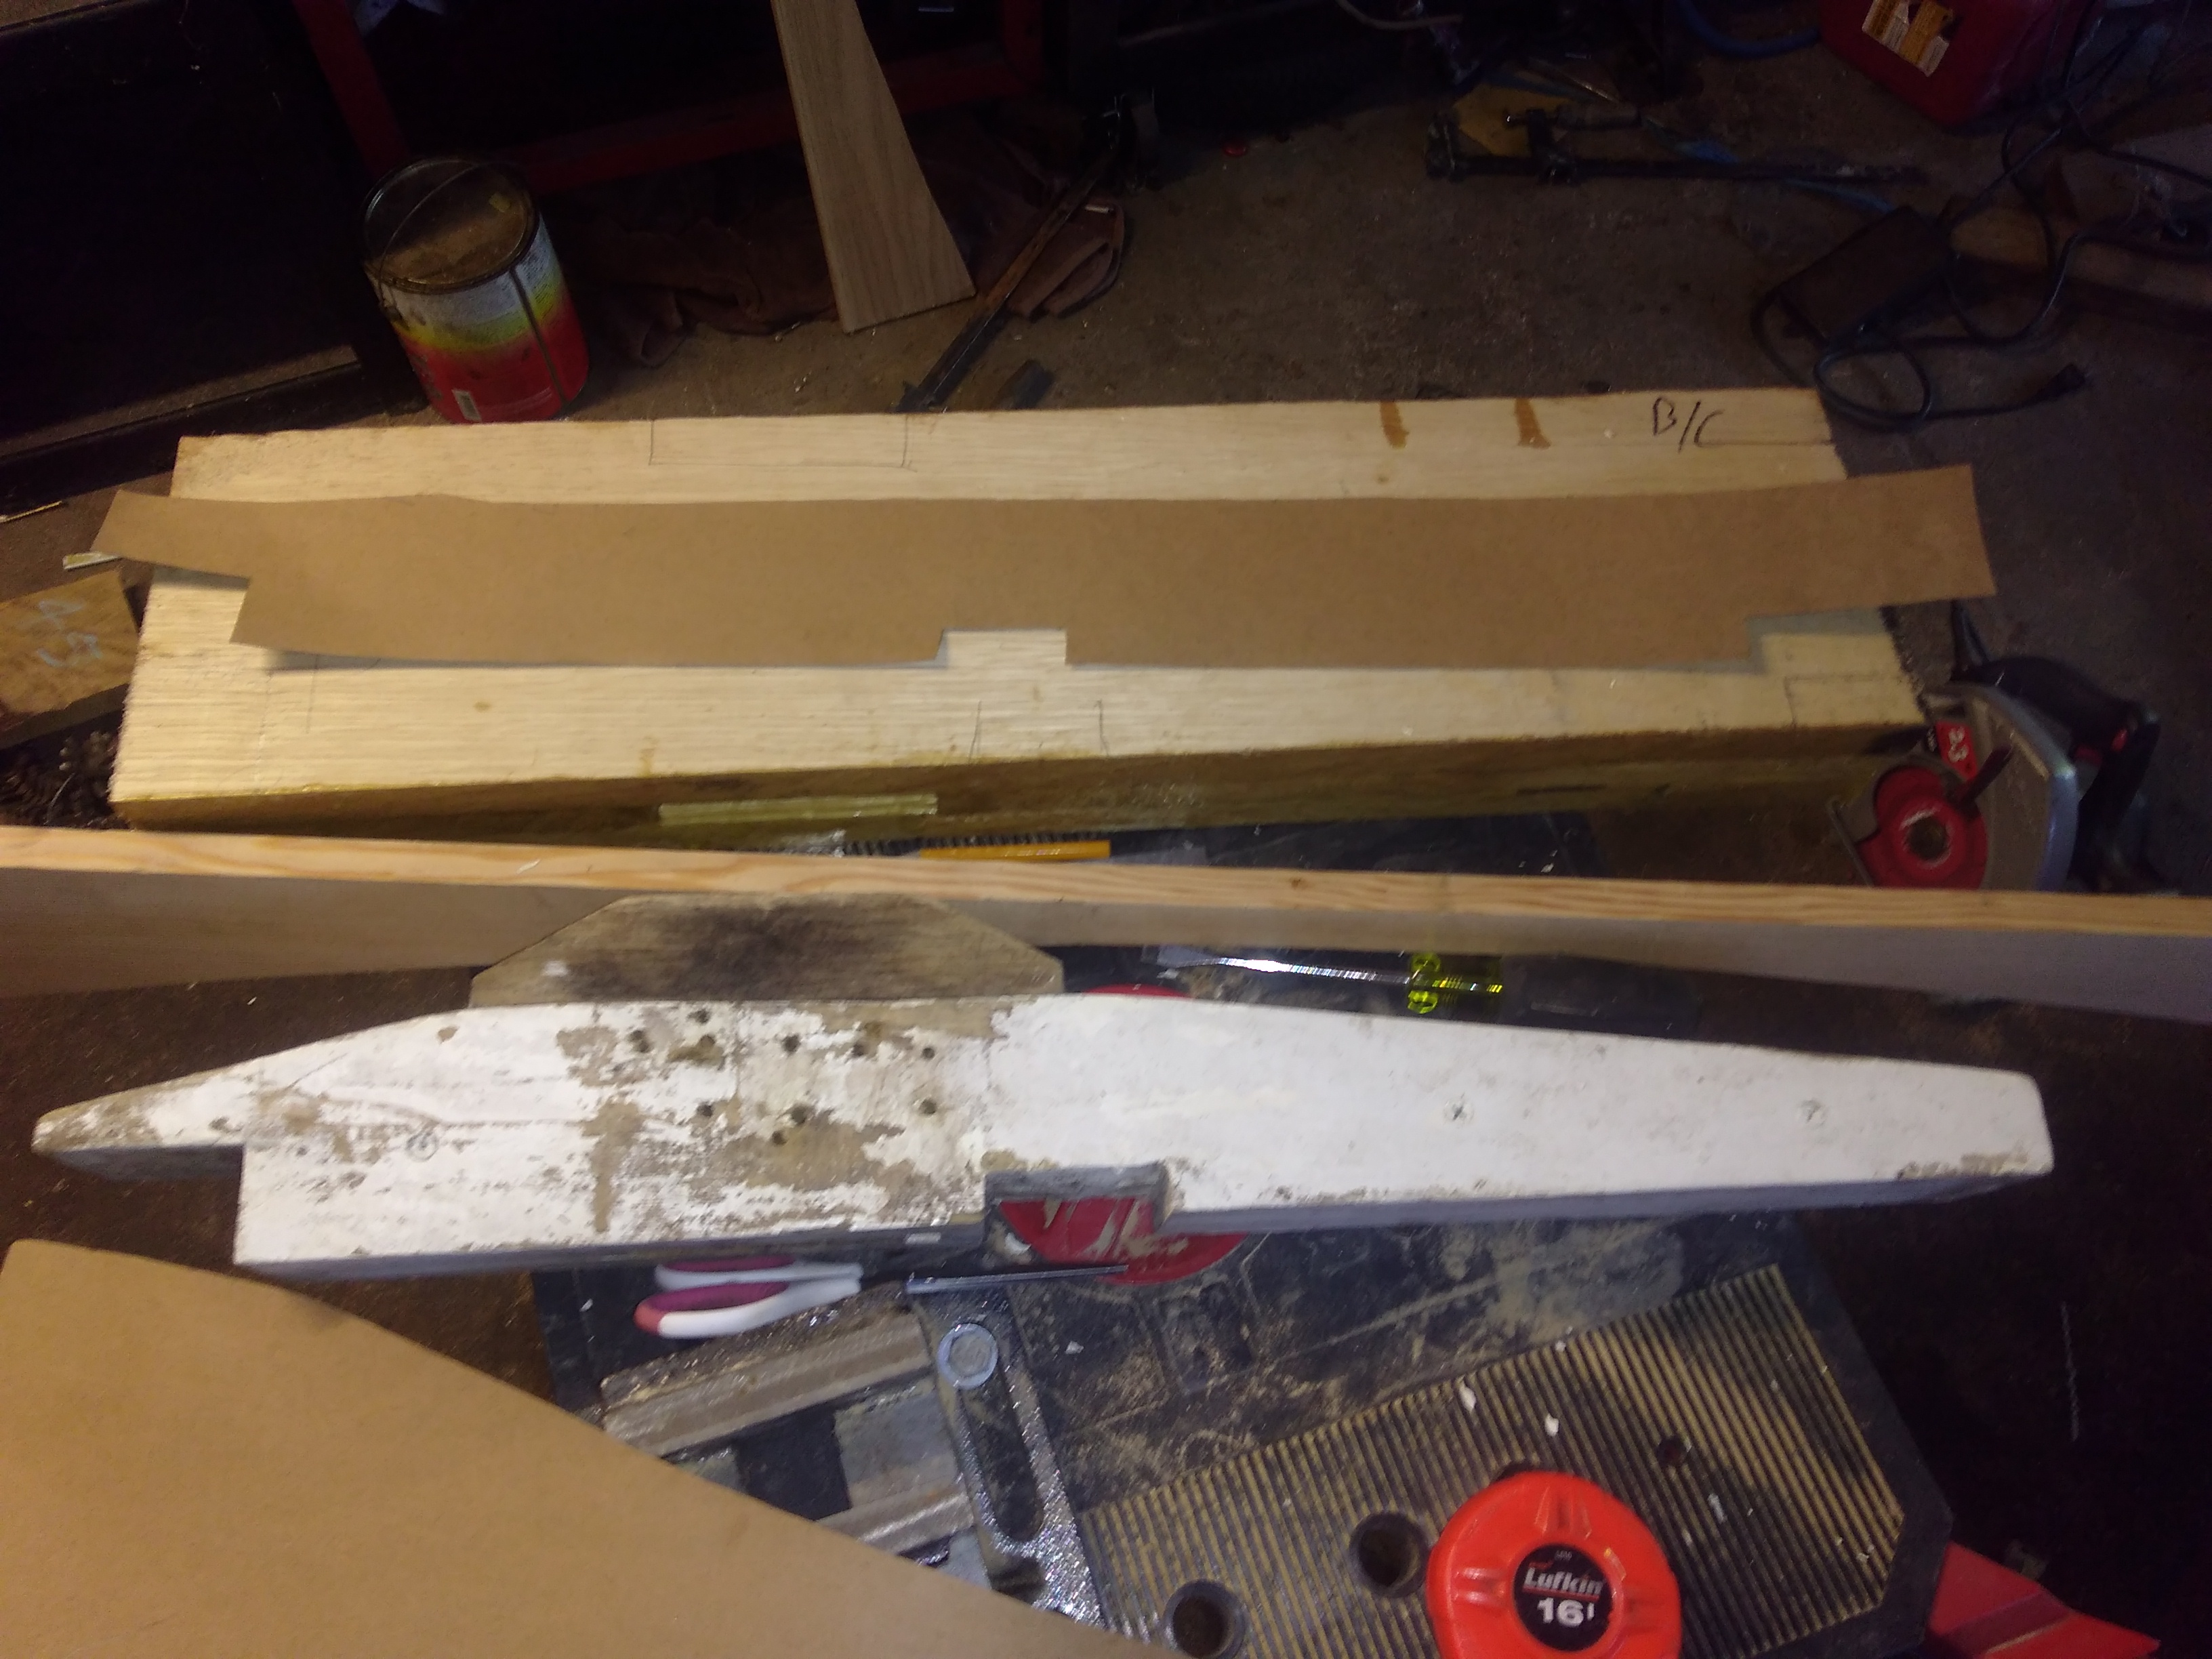
Here’s a comparison of the old and the new.
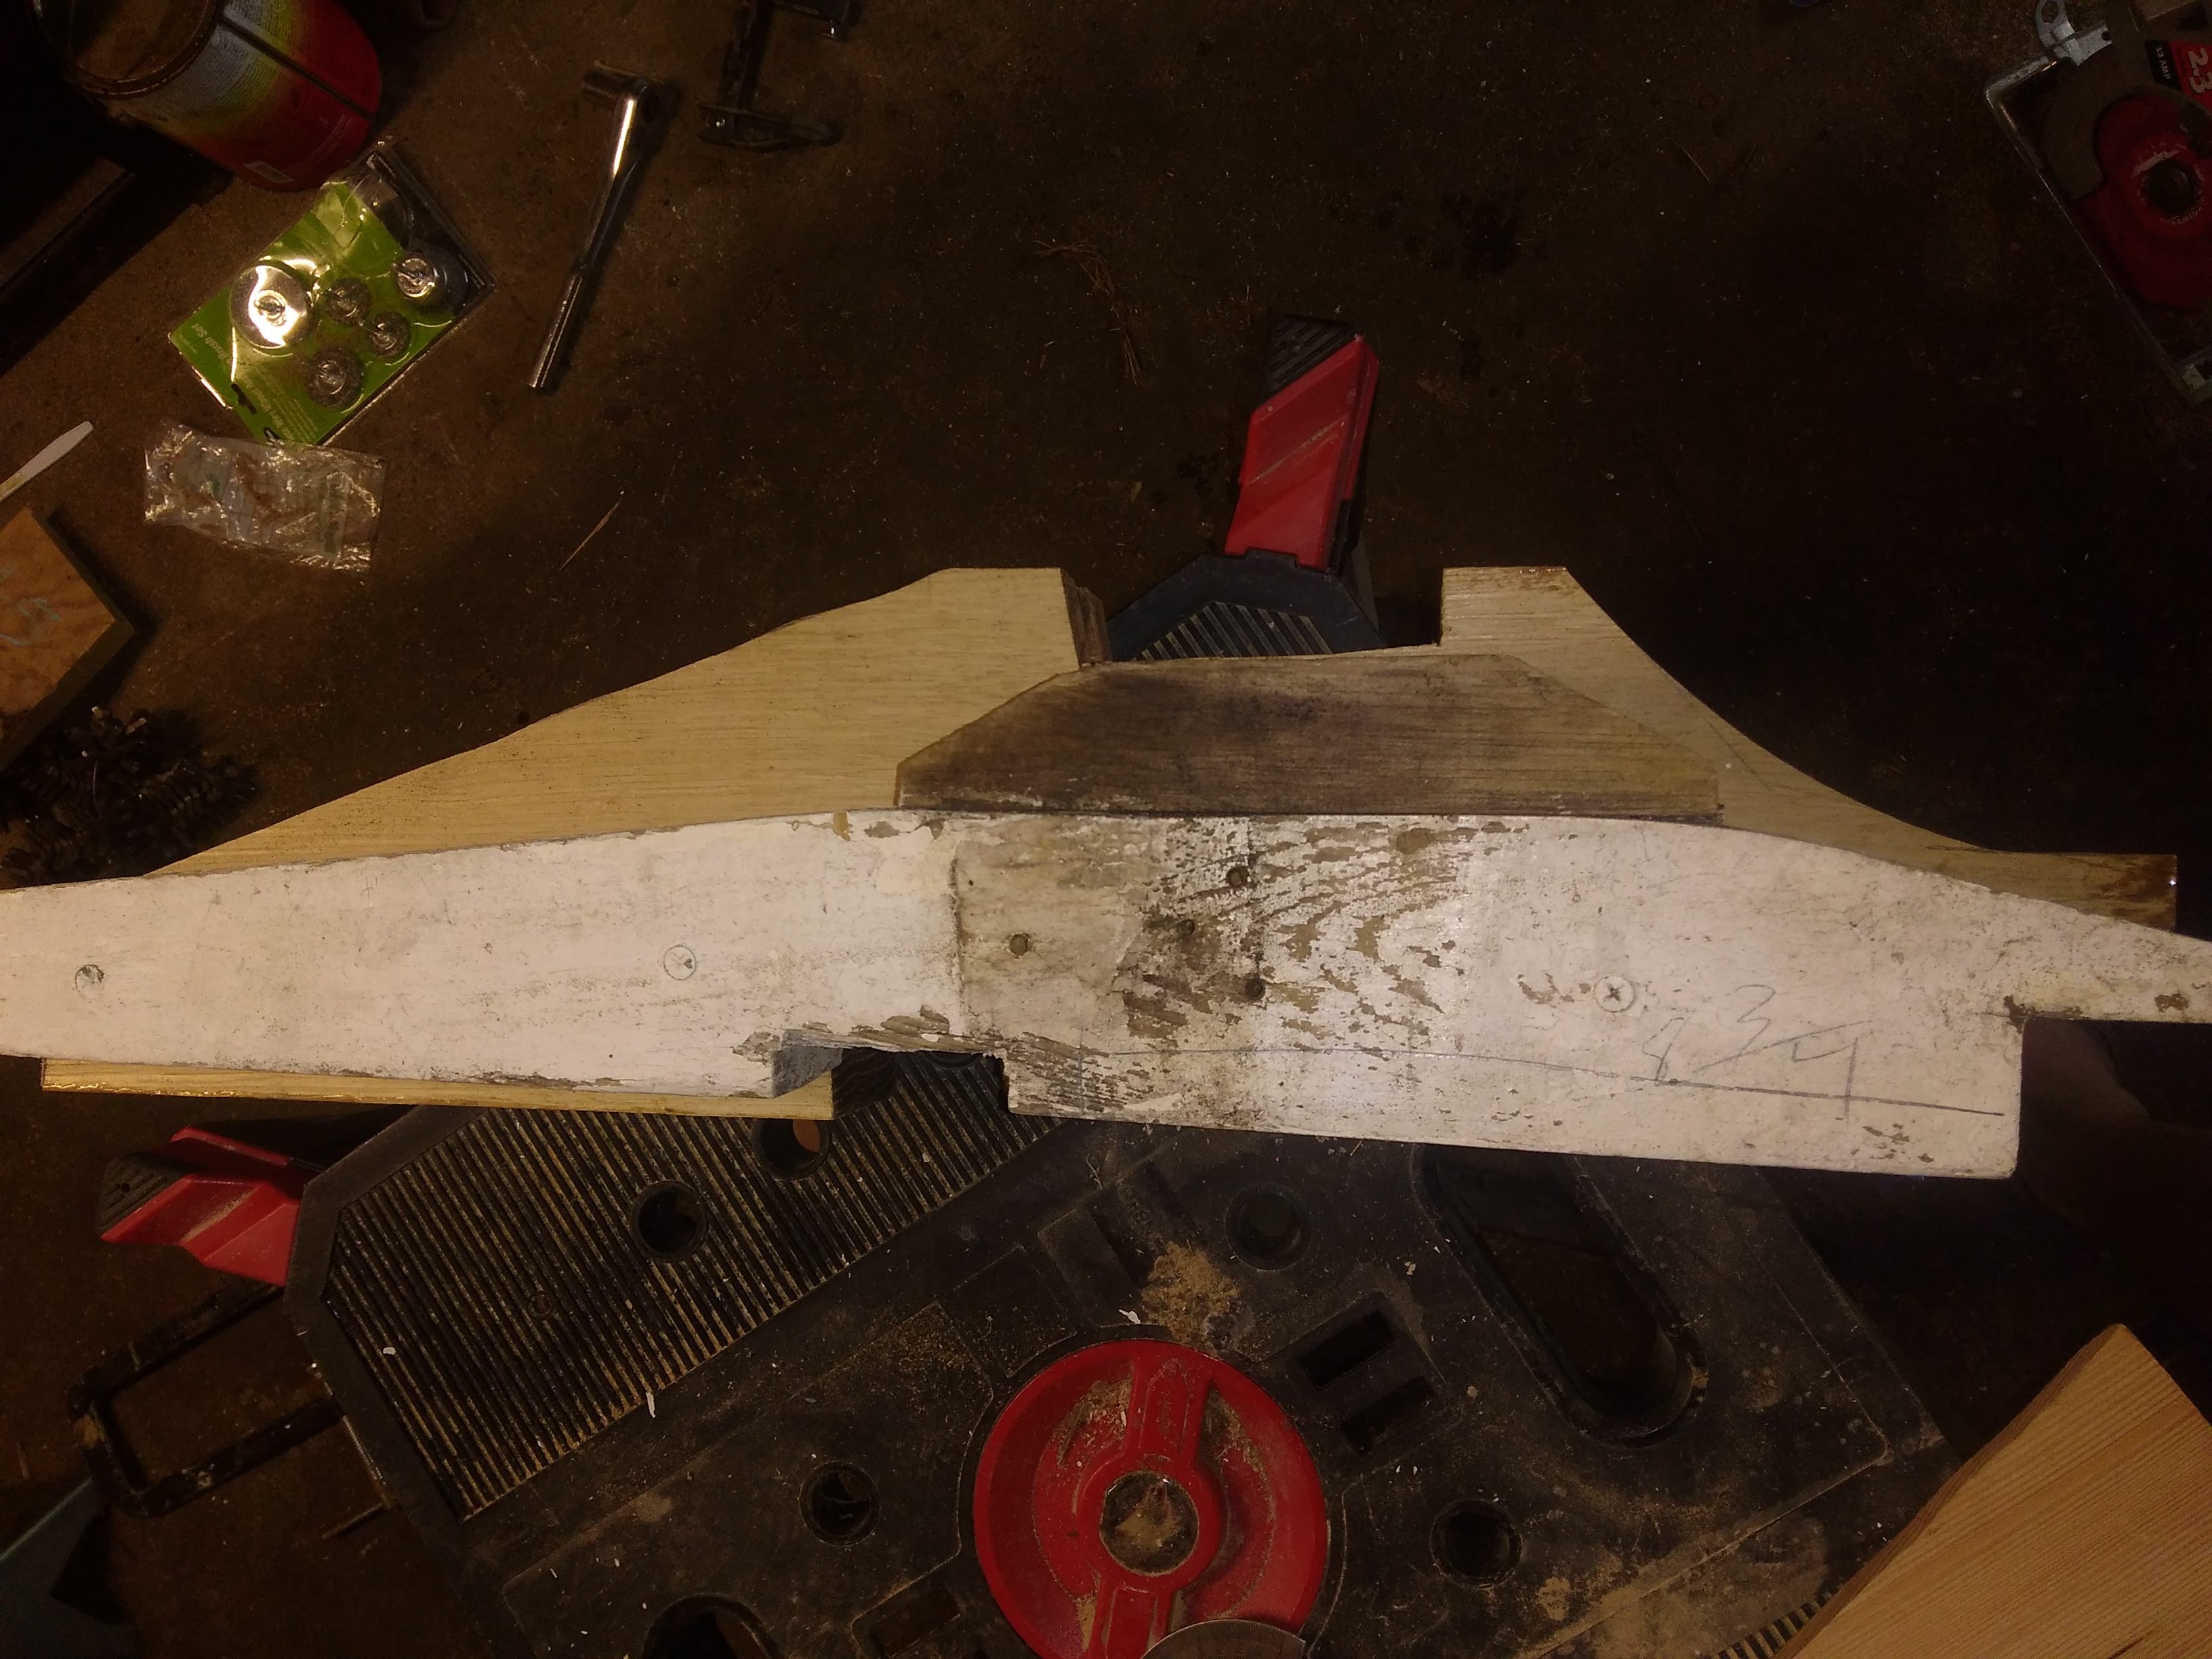
The new mast step is 1/4″ taller than the old modified one, and 1 1/4″ taller than the plans call for. I don’t know how much sag I took out with the new rib and repair, and regardless, I figured I could use the extra clearance between the boom and the cabin top for the hatch I have planned. I extended the step up fore and aft of the mast to give a positive stop on the full thickness of the mast and not just the tang in the slot, and a solid backing for wedges for setting mast position.
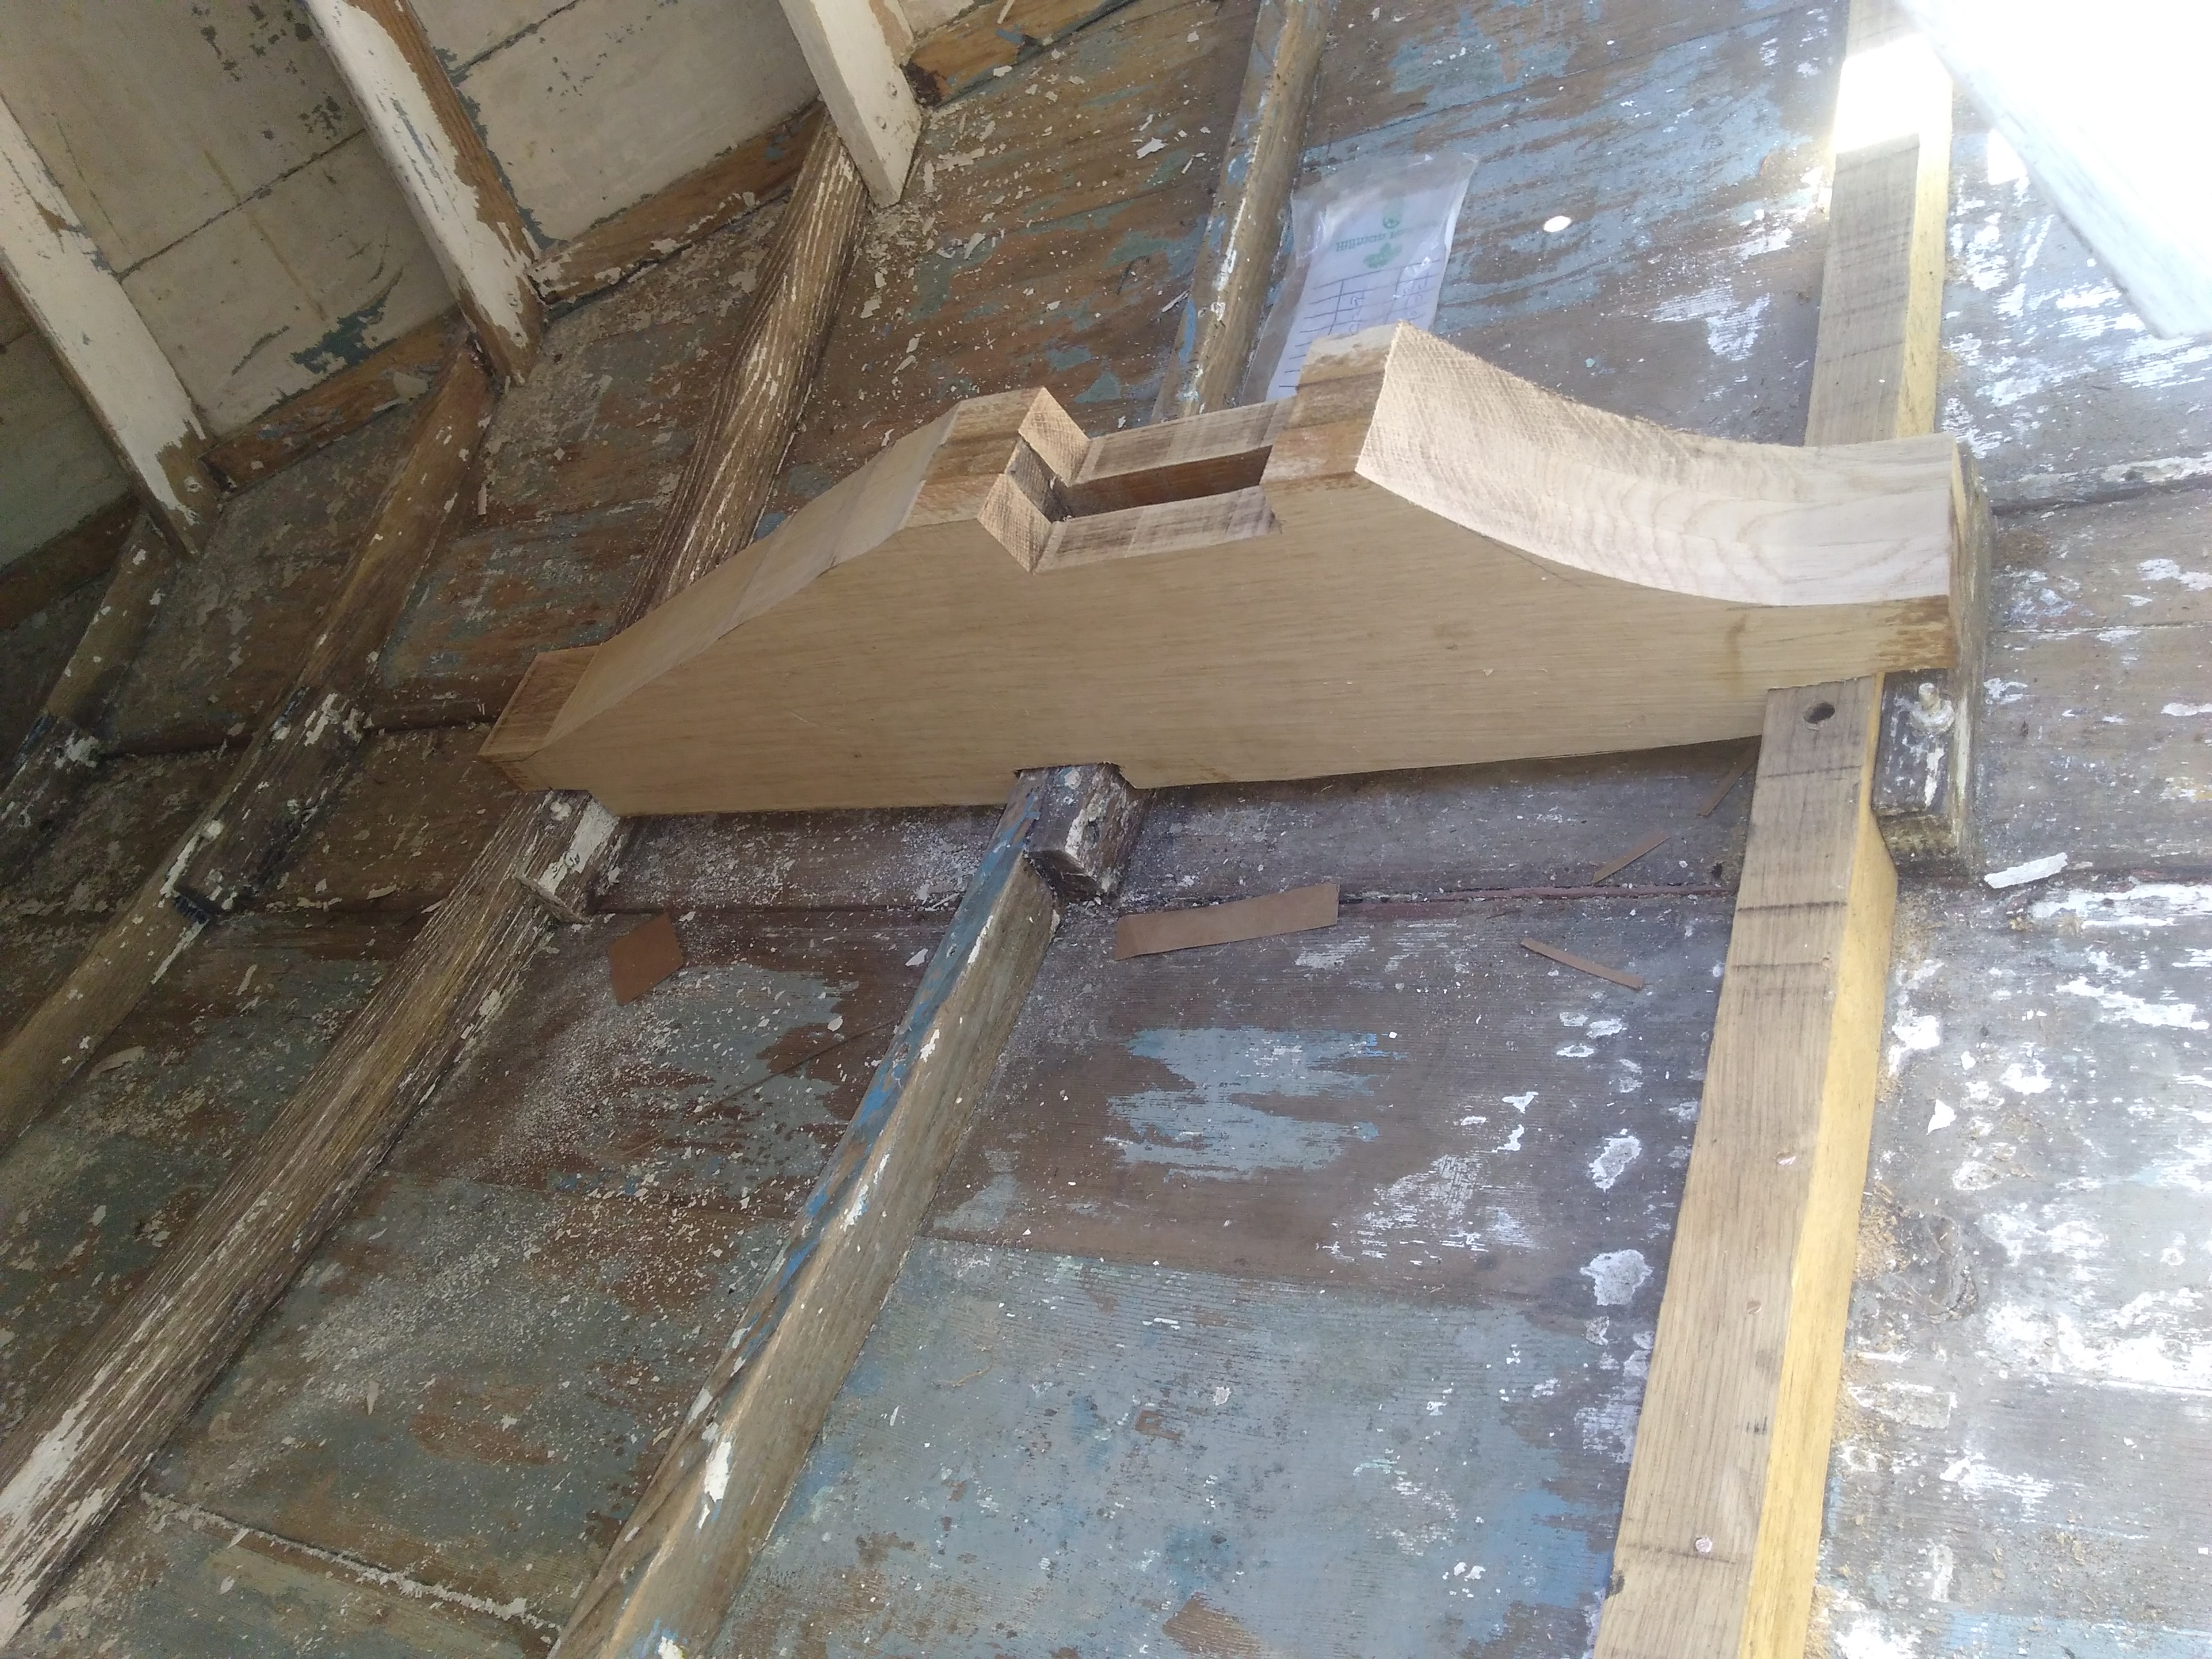
As you can also see, it now lands on all three ribs, and not just the two end ones. It is about 1/8 thicker than the plans call for, but looks like it will really work well.