Work is progressing, slowly.
The dewatering / crash pump system is coming along.
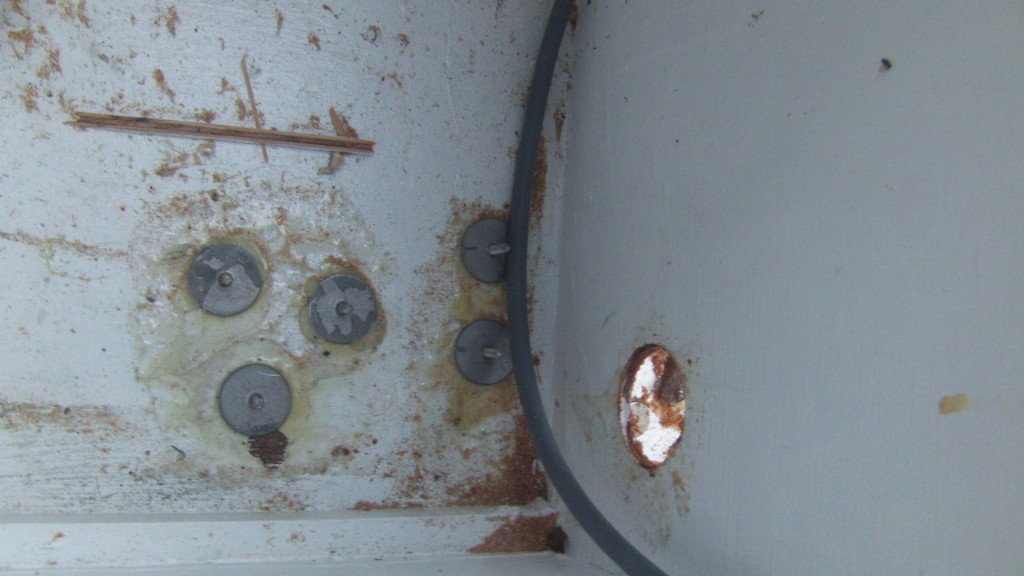
These fasteners are an interesting solution; I didn’t want to bolt thru the 1/4 inch hull to attach the pump and switch. I didn’t want to just epoxy the switch and pump base to the hull; I wanted these to be removable and replaceable in case of failure. I debated attaching hardware to a piece of 1/4 ply and using epoxy to attach that to the hull. But, on a trip to Fisheries Supply, I asked if they had any ideas. they came up with this. They are called Weld-Mounts. essentially, they are a threaded stud attached to a large washer, and are designed to be attached with adhesive. A little epoxy later, and i’ve got my mount points for the pump and switch. I’ll write this system up more once it’s finished, but these were such a perfect solution I just had to put something up about them.
In other areas, the oarlock holes are drilled, and the hole in the hull for the andersen bailer is done.
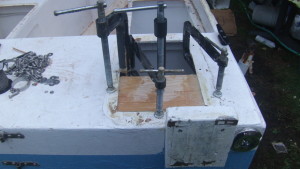
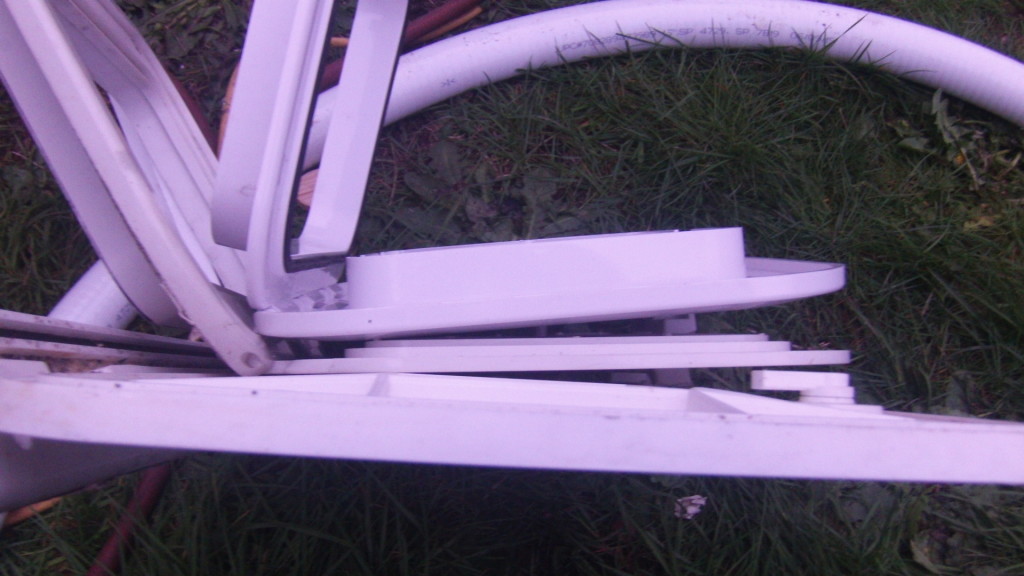
I’ve removed all the hatches that are going to be replaced. A few of them had been leaking, and I now know why. But more on that later. Of special interest is this particular hatch.

This hatch is being reworked; I initially had installed this hatch in last winter’s refit, replacing a screw-out deck plate. At that time I was using an outboard bracket that raised and lowered the outboard, rather than just tipping it forward. After some use, I decided it was unsatisfactory for a number of reasons. I then found that when I mounted the outboard directly to the block on the transom, I could not open the hatch, rendering 1/3 of the lazarette unacessable. So, in this refit I am patching the hole and will re-mount the hatch, with it rotated 90 degrees. I’ve wet-on-wet epoxied a piece of plywood underneath the hole, then wet-on-wet epoxied the patch you see here onto it. once it dries, i’ll sand it, fair it, and then re-cut it for the new hatch location. this will enable me to open the hatch when i have an outboard mounted. not an issue for R2AK, but a good improvement, nonetheless.
The one opposite this on the lazarette is much less work; the new hatch drops right into the existing hole.
The four main storage hatches in the cockpit required more work to replace, however. Once I’d opened up the holes slightly to fit the new hatches, I discovered that the notches I’d had to cut for the hinges on the old hatches would become leaks once the new ones were installed. So, I’ve cut four coamings out of 1/4 ply. These will seal those notches, and help keep water from pooling against the seal between the hatch and the deck.
For the specifics on the hatches going into these holes, I’d like to introduce our new sponsor; Seaflo.

Seaflo is an importer with a line of pumps, hatches, portholes, and a few other items.
See, I’d previously had three different styles of hatches on the boat. These were installed in last winter’s refit, purchased as the most reasonable ones I could find. One of them was vastly superior. The rest, leaked. After a rainstorm, I’d find a few inches of water in the cabin and the storage lockers. even if I had a tarp over the boat. This was a real pain in the ass, as it meant unless I removed removed everything, including the bedding and mattresses from the boat, I was looking at a battle with mildew and funk. Thankfully, I had thought to put an additive in the paint to prevent mildew and fungus from starting.
When I bought these mis-matched hatches, it was because the supplier had only this odd assortment to fit the sizes i needed. I was pleasantly surprised to find that a company I was looking at for pumps also stocked multiple sizes of the superior of the three styles of hatches, and also a few styles I had not seen before of the excellent portholes i had mounted last year on Minnow.
What makes these hatches superior, you might ask?
First, from the top.
I apologize for these pictures- they were taken as the light was failing.
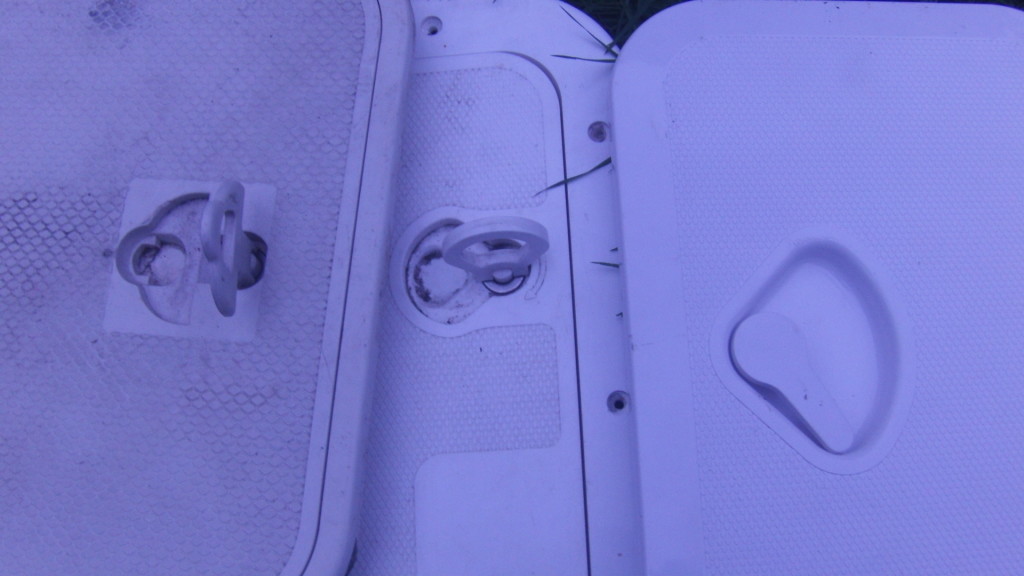
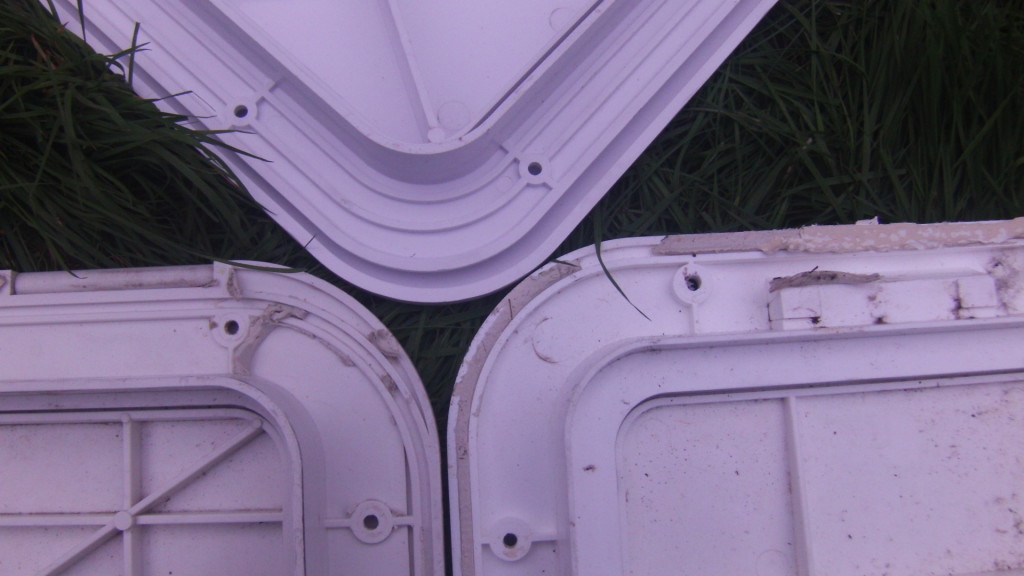
Here in this picture, you see the problems with the latches.
The first two have a latch mechanism that requires you to pull up on a piece and rotate it to open. Great, in theory. In practice, if you forget to fold down the handle and accidentally knock into it, it breaks. I had at least four handles break on me in one season. i checked with the supplier, and no replacement parts were available.
The third one, is the superior Seaflo hatch. it has a toggle that is recessed, that cannot snag on anything, nor be broken like the lift-out handle types can. it has an o-ring to seal out any water that collects in the pocket, and the tension is adjustable via a screw on the bottom. this same screw makes it a trivial manner to remove the handle to replace the o-rign should it get worn.
in addition, you can see another flaw in the other two in this same shot. only the sea-flo has the top hatch overlap past the lower half of the hatch. the other two make sure that every bit of splash and rain is channeled directly to where it can pool against the sealing ring area, and flow right into the hatch when the hatch is opened. the superior Seaflo hatches do not have this issue- the hatch overlaps the mounting and the water never gets hear the gasket.
And here you see a little more about how the gasket is superior on the Seaflo hatches. on the other two, the gasket is below the surface of the mounting. on the Seaflo, the mounting rises up to the gasket, so the mount sheds any and all water away from the gasket, not to it.
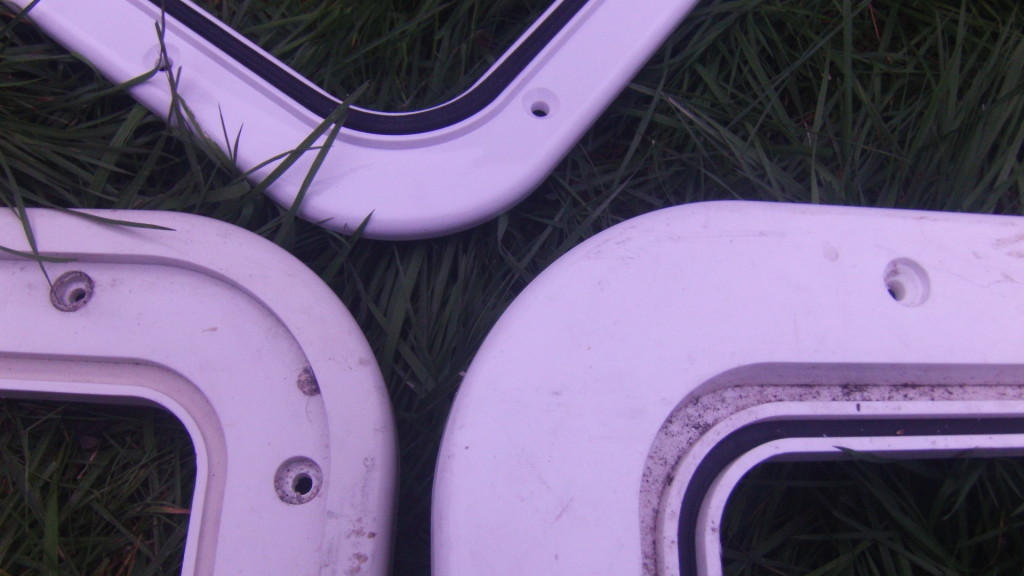
Here we see an end-on shot of the hatches. the reinforcement ribbing on the Seaflo is much more substantial than on the others. they always felt spongy, and flimsy; the Seaflo feels rock solid.
Here we see where the mounting interfaces to the deck. the two inferior hatches on the bottom only bed in on the ridge on the outer edge; the one on the right even created a void where mold had started to form. the Seaflo comes out ahead here, as well. it’s on the top and it has three rows of ribs for the bedding-in compound to seal against.
Combine that with the odd-shaped hole the larger ones needed (you have to notch the deck for the hinges!) and these outshine anything else i’ve seen in the budget hatch category.
These are great hatches for the money. Seaflo has six different sizes available, and prices range from $35-75. if you decide to get some, tell them you heard about them here.